Masts and rigging are essential components of sailing vessels, serving crucial roles in both the structure and functionality of the ship. The masts are the vertical poles, typically made of wood or metal, that rise from the deck of the ship and support the sails. They come in different types depending on the size and design of the vessel, including the mainmast, foremast, and mizzenmast. These masts must be strong and flexible enough to withstand the forces exerted by the wind on the sails. The height and placement of the masts are meticulously planned to optimize sail efficiency and balance the ship’s stability.
Rigging refers to the complex system of ropes, cables, and chains used to support the masts and manipulate the sails. There are two main types of rigging: standing rigging and running rigging. Standing rigging consists of the fixed lines that hold the masts upright, such as stays and shrouds, providing stability to the vessel. Running rigging, on the other hand, includes the movable lines that control the raising, lowering, and adjusting of the sails, like halyards and sheets. The rigging must be carefully maintained and adjusted to ensure the ship can harness the wind effectively and navigate safely through various sea conditions.
THIS ARTICLE IS mainly for the sailboat owner or prospective owner of a boat in which the Technical Advice on the Boat Inspection Process and Why Survey Your Own Boatmast and rigging is a very important part of the structure; however, it also applies to motorboats fitted with a boat launching derrick or fishing boats on which you need to survey the trawling gear or similar equipment.
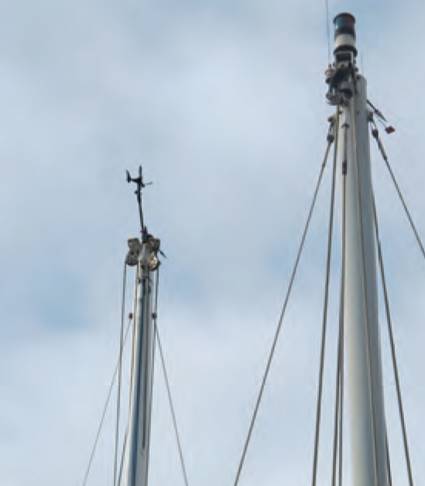
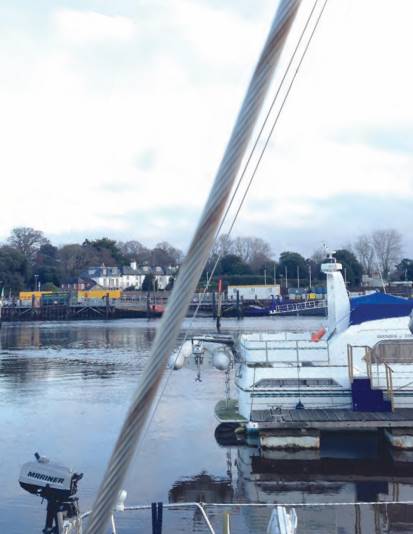
The rigging of a boat can be quite a complex structure, and there are various options for its set-up, so one of the first things to do during a survey of the mast and rigging is to pin down what system is being used and how it all hangs together. It can often look very fragile, with thin strands of wire and the seemingly impossibly thin mast supporting the stress and strain of the sails.

The first dilemma you’ll face when surveying the mast and rigging is whether to check it with the mast up or down. In some ways you want to have the mast erected to see how the whole system works and to reveal any existing weak points or wear, but it’s difficult to do a full check on rigging that is under tension since most of the wear points will be in the «nip», the point where two fittings, such as a shackle or clevis pin, link at the top or bottom of a wire. This can be a particular problem at the masthead fittings; you could examine them with binoculars or even make a trip up the mast in a bosun’s chair, but unless the rigging is slack enough so that the links in the system can be opened you won’t be able to determine if there is wear here.
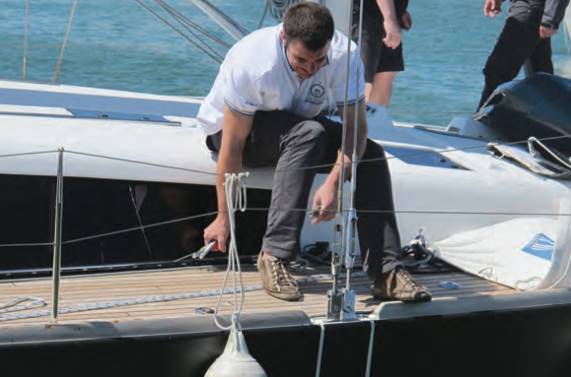
Therefore, in order to examine the fittings in detail the mast needs to be down. It’s unlikely the sails will be erected during a survey, but the mainsail may be on the boom or in the mast with a mast reefing system, and a roller reefing jib could still be in place.
The mast
Mast Installation
IF THE MAST is erected, start your survey by studying it closely. Look at how the mast is fitted in the boat. On older boats it may go through the deck with the heel connecting with a mast step just above the keel. The alternative, and the system used on most modern yachts, is to have the mast step on the deck or on the coachroof, which in turn is supported by a tube or column between the coachroof and the keel or bottom framing.
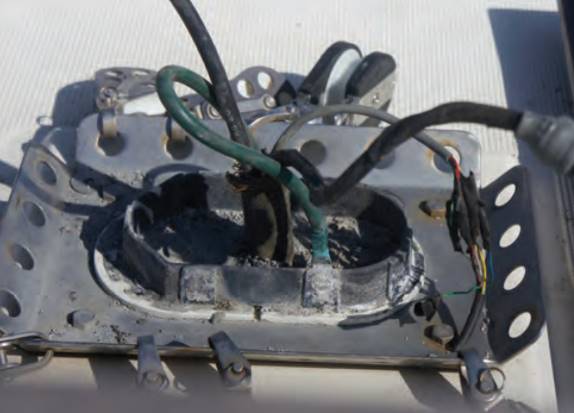
This latter arrangement does away with the need to have some sort of seal around the point where the mast passes through the coachroof or deck, which has traditionally always been a source of trouble and leaks: the mast is always going to move slightly under the stresses and strains of sailing and so trying to seal this joint adequately is difficult. The traditional fix was to place mast wedges in the hole around the mast before fitting a canvas cover over them to keep the water out. A more modern system might employ a rubber boot as the seal, held in place by worm drive clips. In either case look below for signs of leaks, and if there is staining check the condition of the seal. If the seal has been removed you may see signs of movement around the joint where the mast passes through the deck/ coachroof, which will be revealed by shiny areas on an aluminium mast or wear on a wooden mast. This isn’t a serious problem (since there is always a certain amount of movement at this point) unless the wear looks considerable.
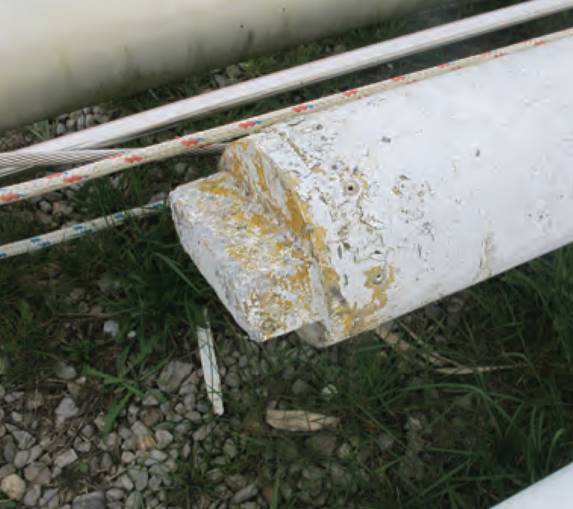
The mast step, whether it is inside or outside the boat, is a critical part of the installation as it takes the considerable downward stress of the mast and transmits it to the hull structure. There will often be a pad of some sort in the mast step, which acts as a shock absorber. On the rare occasions when the mast is removed, check the mast step and mast heel for cracks or distortion. You may find corrosion at the base of the mast, since water can lie in this area. If the mast is stepped on deck, the supporting pillar below it will normally be a rigid structure in metal, so check its base for corrosion. To be certain that it is taking the downward strain, use a straight edge to make sure it’s not bent or bowed in any way.
Mast Types
The Basic Equipment of a Sailboat and Their Characteristicsmast is a complex structure requiring detailed examination. It is likely to be constructed from wood or aluminium, with carbon fibre composites usually only seen on racing yachts. You’ll find many fixtures and fittings attached to the mast in the way of the:
- boom;
- spreaders;
- slots for pulleys;
- lights;
- antenna(e);
- and rigging wire attachments.
The complication is increased when there is in-mast reefing for the mainsail.
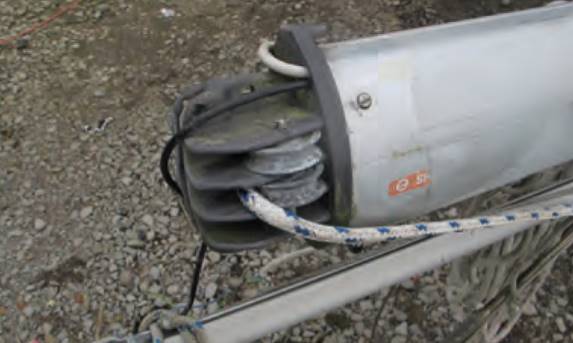
Hollow wooden masts are designed to reduce weight but even here most or all of the attachments and ropes will be on the outside so examination is relatively straightforward, provided you can get close access.
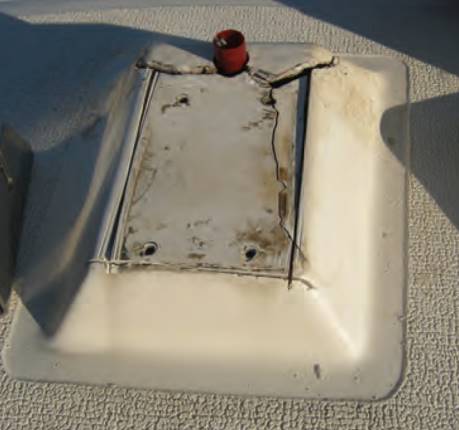
Check fittings for any sign of movement, such as slight abrasion in the varnish surface or the wood itself. Certain designs may encourage water to collect behind the fitting, which could start to rot, so look for discolouration of the wood. In particular, check the base of a wooden mast if it lies inside rather than on the boat. Close examination of discoloured fittings may require removal.
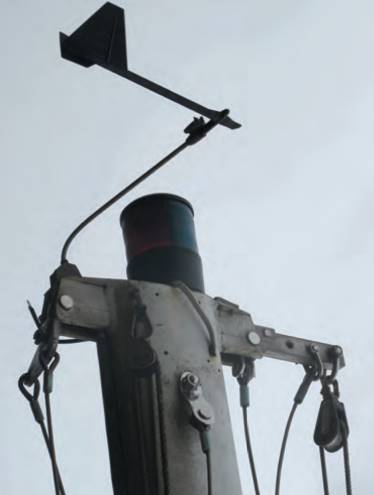
If you’re examining an aluminium mast, you should focus on detecting corrosion. Aluminium is extremely durable but most mast fittings will be made from stainless steel, meaning you have two dissimilar metals in the presence of sea water which could start electrolytic corrosion (seen in the creation of a grey/white powder around the meeting point).
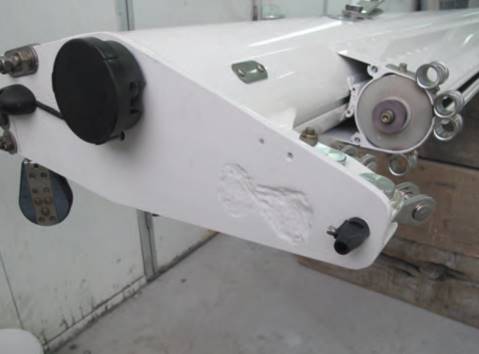
The aluminium will suffer more than the stainless steel, although if the latter is low quality you may also see some rust coloured surface corrosion. Fittings are usually fastened to the mast with rivets, which could be a different type of metal again, so you must check all of them for the same signs of corrosion. Of course, if the mast is erected you will only be able to see the bottom part of the fitting as you look up with your binoculars.
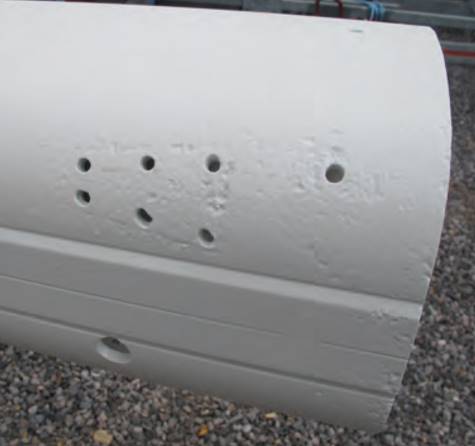
If the mast is still up, stand back from the boat to examine the rigging. This will enable you to detect any fittings that are out of line, which could place them under additional strain. Modern rigging tends to allow for a degree of unevenness via the use of toggles and similar fittings which take up a natural alignment, so that angles are not so critical here.
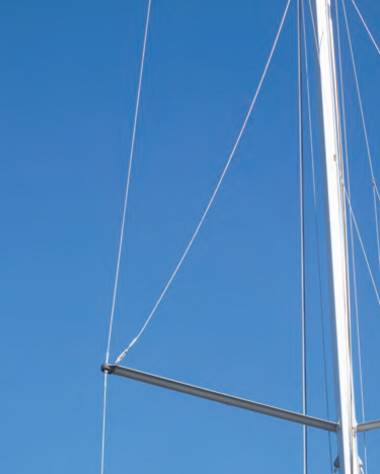
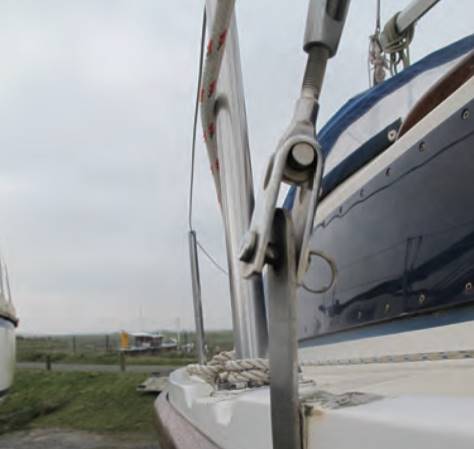
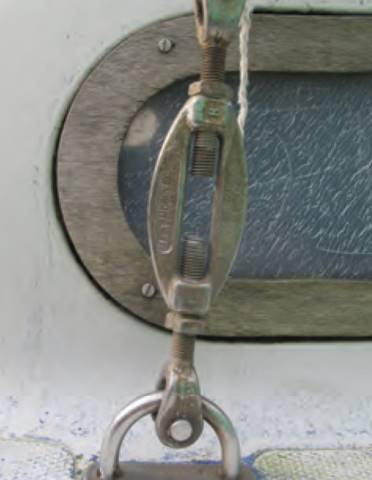
However, be sure to check all fittings closely. You might see this misalignment where a shackle is attached to the chain plates and the span of the shackle opening is much wider than the width of the chain plate to which it is attached, thus allowing the shackle to cant over. A shackle that is canted in this way could be a weak point in the rigging, so all shackles should be moused with wire to prevent the shackle pin unscrewing when the rigging vibrates.
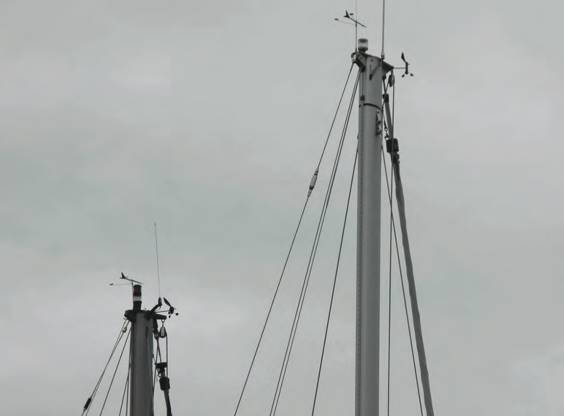
There can be a whole collection of fittings at the masthead ranging from halyard blocks to rigging attachments, electronic antenna(e) and navigation lights. These are often out of sight, out of mind so that whenever the mast is taken down, these fittings should be inspected. Binoculars should help you to check that shackles are not coming undone and wires are not unravelling but the detail can only be seen by getting up there or getting the mast down.
On a survey you should be looking for any elongation of the holes in lugs where halyard shackles are attached, or in the eyes that may also act as an attachment. Halyard attachments are often slack when the halyard is not in use, which can lead to wear in the holes or in the nip of the fitting.
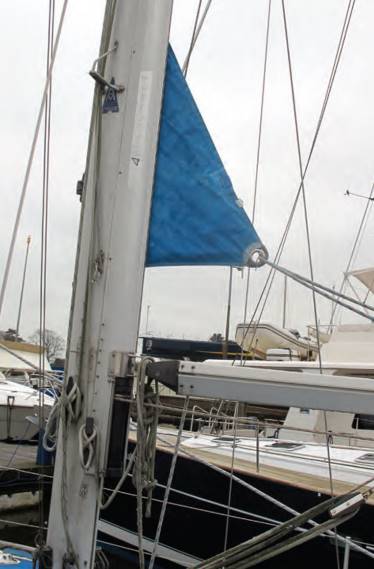
The boom and its fittings need to come in for a similar check, particularly the gooseneck where the boom attaches to the mast. The double joint here should be checked for wear because it comes under considerable strain.
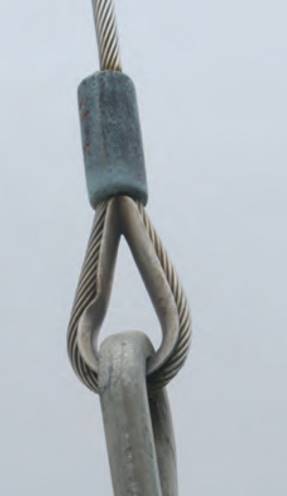
Carefully go over the vang attachments. If the vang is hydraulic check it for any leaks, indicated by a film of oil on the surface.
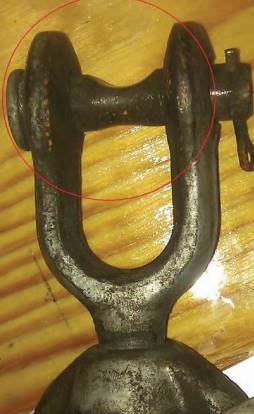
There will be more bits to check on both boats where the sail is reefed into the boom and where there is in-mast reefing.
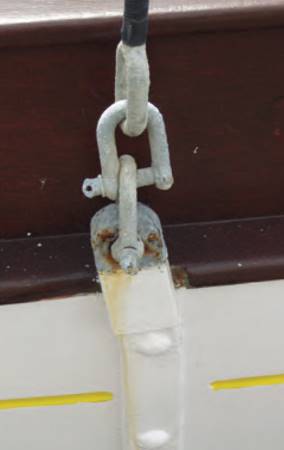
Getting access to the moving parts on these installations can be a challenge and this may be a dismantling job that should be scheduled perhaps every time the mast is taken out.
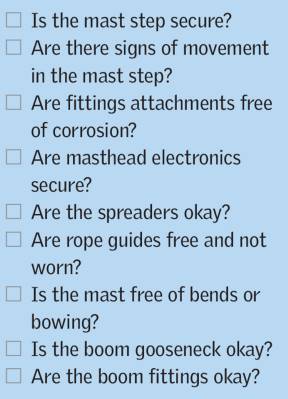
On a purchase survey inspect everything you can see for the tell-tale signs of wear, such as shiny surfaces and a grey or brown powder.
Standing rigging
Contact Points («NIPS»)
AS WE SAW earlier in this article, the «nip» is the point at which the two surfaces of an attachment meet. You can’t see this contact point until the attachment is slackened off, which enables you to open up the contact points. While everything may look fine from the outside, if a bit of sand or grit gets into the nip and the two surfaces begin to rub together, wear will occur.
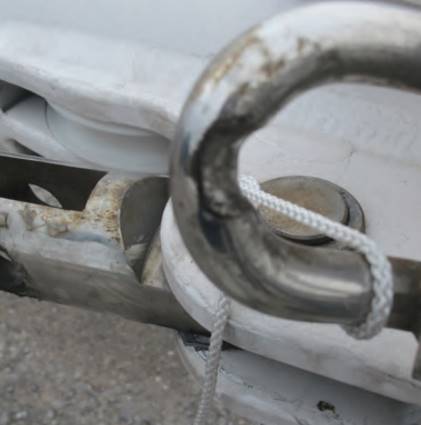
Where the meeting point consists of two rounded surfaces, the wear will be directly in the nip, while with a tongue and pin fitting (such as might be found on chain plates) the wear will be focused on a pinpoint area. There will always be movement at these points in the rigging, so it’s difficult to judge how much of this type of wear is permissible. I’d suggest measuring the diameter of the worn part against the unworn part with a pair of callipers: certainly you should be looking to replace anything more than a quarter of the original dimension, but I would recommend even less because it will only get worse with time.
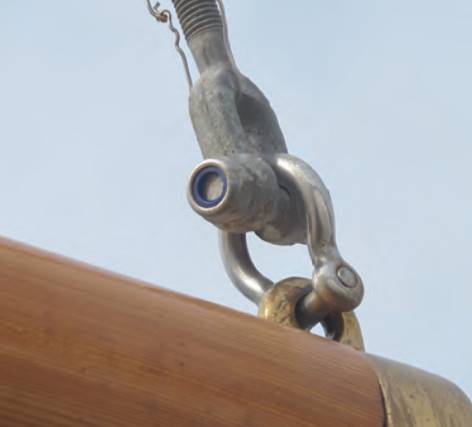
Every contact point between two parts of the rigging should receive this level of inspection, although you can only really go into this much detail with the mast out of the boat. If you are the boat owner, I’d suggest a bi-annual check along these lines. It might seem extreme, but if one element in the balanced rigging system fails it can start a chain reaction of failure, leading to possible collapse of the mast itself.
Rigging Wires
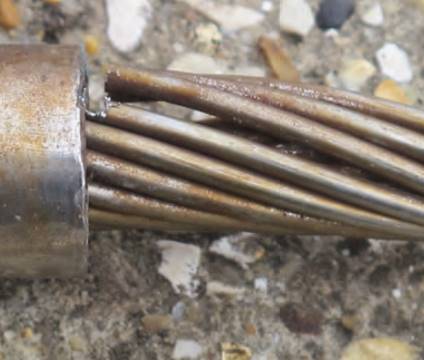
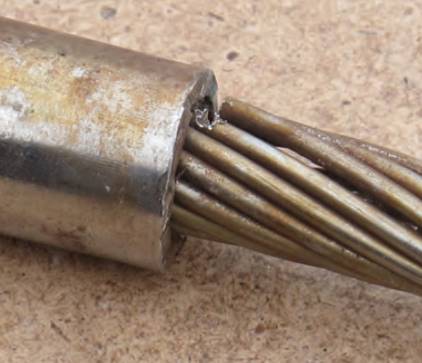
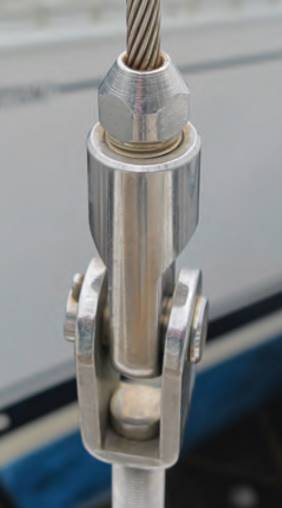
It can be hard to find faults in the rigging wires, so a quick glance is never enough. The first place to look is at the point where the wires terminate in the swages, the securing point for the end of the wire, which in turn are connected to the adjusting rigging screws or connections. The usual arrangement sees a cone fitted inside the swage with its point at the centre of the wire strands. When the swage is tightened up this cone then presses the wire strand against the inner sides of the swage, which locks them into place.
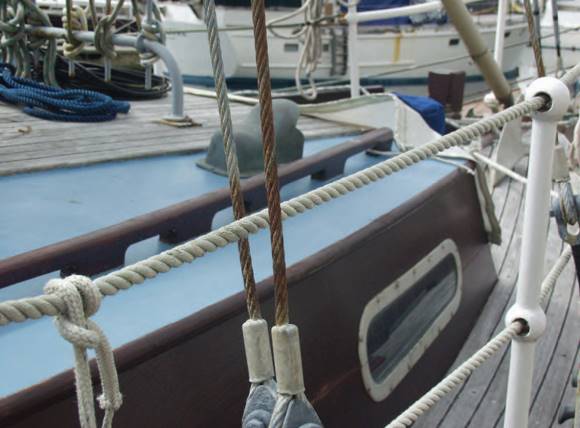
There are a number of patented connections but they all tend to work on a similar principle: the point is that you want to examine the point at which the wire enters the swage, since there can be pressure on the wire strands here. Another type of swaged fitting has a stainless steel ferule fitted over the wire and compressed under high pressure around the wire. The ferule was under considerable strain when it was fitted and in later life this can make it prone to stress cracking. You may well see signs of corrosion, but you may wish to get out your magnifying glass to get a much closer look at the surface of the fitting.
If there is a bottom connection linking the wire to the rigging screw, the hole where the wire enters is probably not fully sealed, meaning water can lie in the crevices and begin to corrode the metal. Vibration in the wire can aggravate the situation, the outside wires usually being the first to show signs of fatigue. Again, it might be necessary to use a magnifying glass – even if there is only one broken strand, it is a case for replacement of the wire.
Less common are broken strands in the wire along its exposed length, probably caused by historical damage at some time. To check for this deterioration, put on a pair of stout leather gloves and run your hand along the wire to detect any «snagging» on broken wire ends. Again, replacement is the only solution.
Both of these checks can be done with the rigging in place so you could use a bosun’s chair to get the required access. If you’re taking the easy route and using binoculars for a visual inspection, you may be able to see broken strands at the top fixings if the wire has opened up a little, but you’ll need to move around to get a view of the wire’s full circumference. Certainly in this way you should be able to detect any defects before the wire actually parts, but on a survey a closer inspection is the best solution.
The backstays can be more vulnerable to stranding in this way because they are slackened off when on the lee side, meaning they may be swinging around in the wind. Because of this excessive movement, you must check both the wire at the connections and its securing fitting, such as shackles, for wear in the nip.
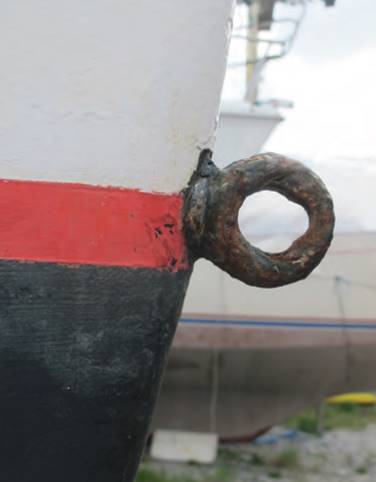
The forestay is another vulnerable point: not only does it help to hold the mast up but it also supports the jib. This support may be in the form of snap hooks that attach the jib to the stay and slide up and down it, but most modern yachts now use a roller reefing system, where the jib rolls up around the forestay fittings. This can add to the stress at the end fittings, particularly the lower one where the operating furling rope connects.
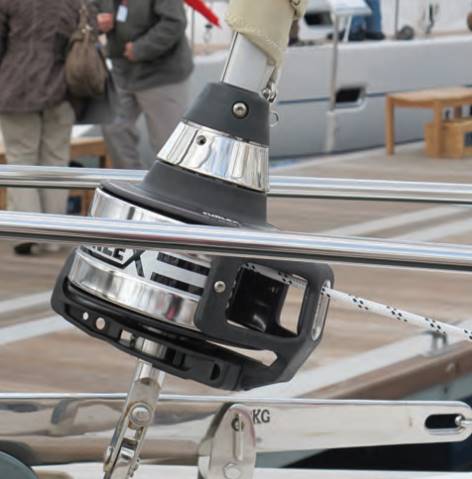
The sail also hides the bit that forms the «tube» around which the sail will roll; this «tube» should be free to revolve easily as it is turned because if it jams, it can get twisted and may even break, which in turn may tear the sail. The crew can cause this damage to the «tube» if they’re struggling to furl the jammed jib; they take the operating rope to a winch and put excess pressure on the system instead of trying to find the fault. Therefore during a survey the jib, and particularly its swivels and of course the forestay and its hidden connections, should be taken off the furling gear and inspected in detail.
Rigging Screws
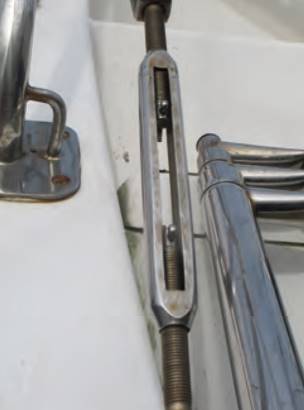
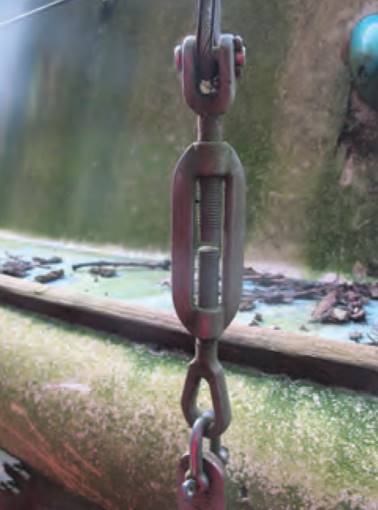
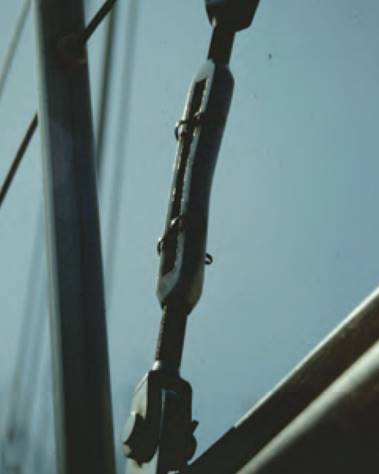
The rigging screws that allow the Tips on Rigging a Boat and Using Knots in Sailingrigging wires to be adjusted and tensioned can take a lot of abuse, particularly those at the sides which, on top of their intended use of connecting rigging, may also be used for tying off the tender and even mooring ropes. The first thing to look for is any screws that are close to using up their full adjustment – if they are, look for the cause. It may be that the wire to which it is attached was made up too long in the first place or that the wire has stretched, but these are unlikely causes.
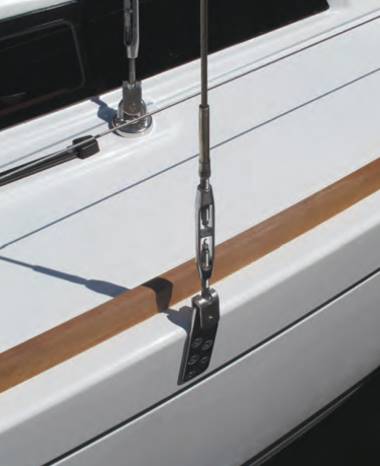
Perhaps the mast isn’t installed in the proper upright position or there is damage in the rigging wire. If both screws on the same side present with this problem, it could be that the mast or possibly even the chain plates are moving. Whatever the issue, do take the time to find the cause because a rigging screw with no more adjustment isn’t much use.
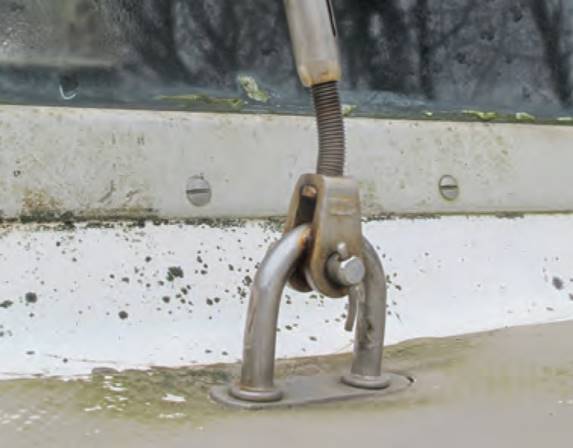
Check that the locking devices for the rigging screws are in place. These are usually lock nuts located at the outer ends of the turning part and they are tightened up against this turning part to stop it moving of its own accord. Since rigging screws can cause chafe on the foresails if they pass outside this point they are often covered in tape or other anti-chafe material, such as a plastic sleeve, so this should be removed to inspect what is happening below.
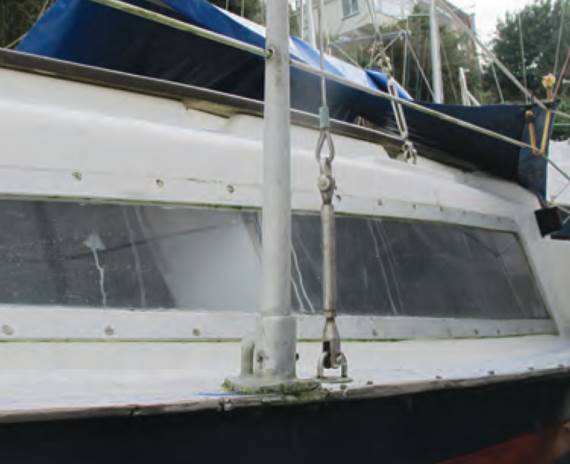
Because of the hard life they lead and their vulnerable position, the threaded section in screws can also become bent, which prevents further adjustment, so check that the threaded sections run true when turned and the rigging screw works throughout its length. This is also the time to look for any wear in the nips of the securing shackles and clevis pins (when the rigging is slackened off, of course).
Mast and Chain Plates
The chain plates and/or the deck fittings to which the rigging screws are attached should also come in for scrutiny. These rigging attachment points are a vital part of the structure: they not only serve to transmit the rigging loads to the hull, but also help to keep the mast where it should be.
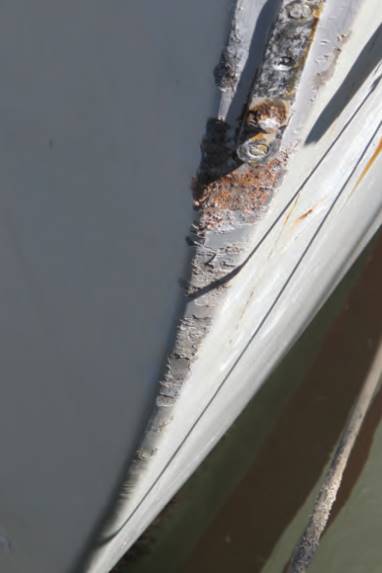
It is fairly easy to get a look at the external chain plates so check for any signs of movement where they are bolted to the hull, and/or staining of the topsides or paintwork which could indicate that there is corrosion beneath, perhaps in the fastening bolts. These bolts should also be checked inside the hull to ensure that they are tight and there is no sign of movement. There should always be a backing plate here to help spread the rigging loadings into the hull structure.
You should get the same backing plates when the chain plates are replaced by deck plates bolted through the deck.
Here the loading should be spread between at least the adjacent frames in order to help transmit the loading to the hull structure.
Carefully check the deck moulding around the fitting for any signs of softness or staining, which may indicate that water is getting into the moulding around the edge of the fitting or the fixing bolts.
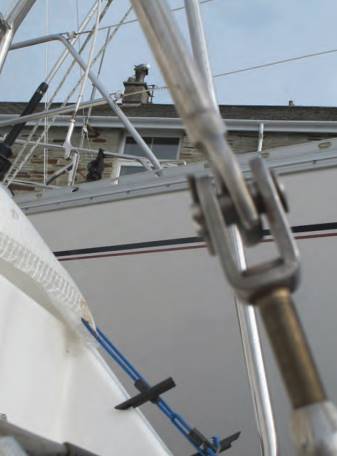
At the bow the securing for the forestay is often incorporated into the stem head fitting, while at the stern the backstay(s) may have chain plates bolted to the transom or eye bolts on the deck.
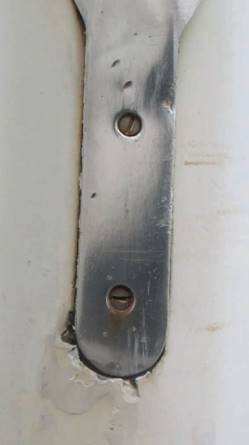
These are only as good as the laminate they are bolted to, so check for backing pads or plates, tight nuts and for any signs of softness or staining in the laminate: it is not unknown for a rigging attachment to pull out and take part of the deck with it.
Finally, check that the pull of the rigging wire is in line at the tongues fitted to the mast and the chain plates at the bottom of the rigging.
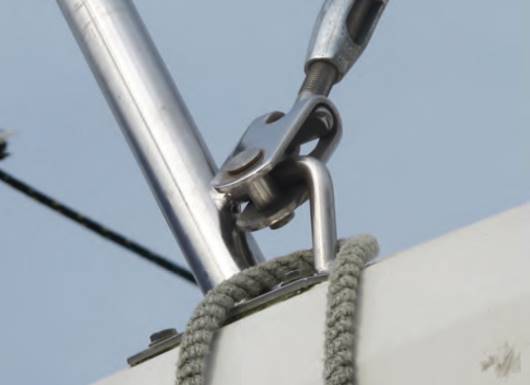
It’s not unusual to find that there is a misalignment so that there is a sharp change in angle between the rigging and its attachment point, which can place added stress at the point of connection, creating a wear point (you’ll need the mast in situ to see this).
Running rigging
Running Riggings are the ropes but they may incorporate some wires, such as for parts of the halyards.
Ropes
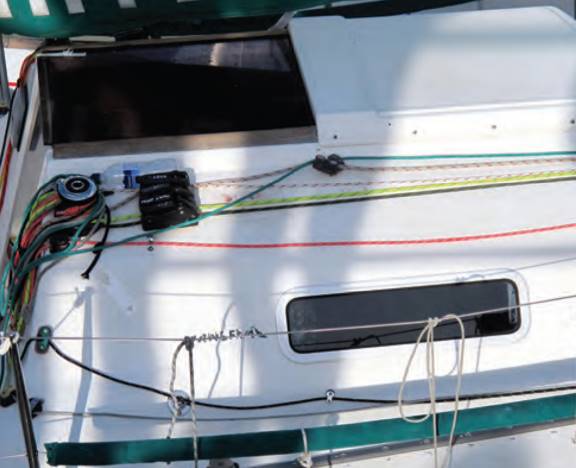
With so many ropes going up inside the mast it can be difficult to get access to all of them, but if you pull the halyards up and down you’ll expose most of the length (although you may need a trip up the mast to see some parts). This is a pretty straightforward check: you’re looking for any signs of chafe and wear.
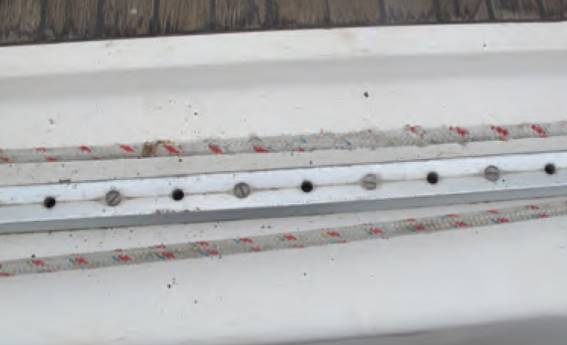
Many modern ropes have an outer weave that provides the wear and UV resistance, while the main strength of the rope is in the strands below. If the outer weave gets worn and the inner strands are exposed, it’s time for renewal because not only will the wear accelerate but with the outer weave torn the rope could end up jamming in a pulley or clamp.
Read also: Deck and Super Structure
On modern sailboats many of the ropes can take quite a strain when under sail in a blow and this is the last moment that you want one to fail.
Blocks
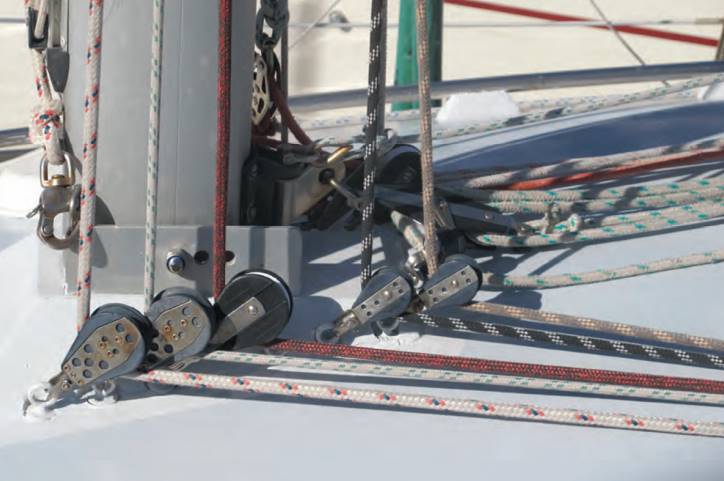
While checking the ropes is easy, examining the blocks and leads that they run through can be more of a challenge. The modern system of blocks and ropes is a fascinating cat’s cradle that should have been designed for easy sail handling and adjustment. It includes blocks at the top of the mast, which handle the halyards, and at the base of the mast, which lead the halyards out. More blocks are found at the mast base leading the various ropes to the clamps and winches, while finally there are the sheet lead blocks.
You can check most blocks by hand, but for a good check you need the weight off the rope running through the block you’re examining, which may be difficult to achieve when looking at the masthead blocks.
Modern blocks are usually made from a combination of stainless steel and tough composites, so they should be corrosion-proof, but they can be subject to wear. If you see wear in a rope it could be a clue that there is wear in the block, since the sheave may not be running true. Try to move the sheave in relation to the frame of the block – there should only be the very minimum of movement between the two, just enough to ensure free running. Any more and it may be time to replace the block. Also look for any signs of the rope rubbing on the sides of the block, which might suggest that there is wear in the sheave bearing or perhaps damage to the pulley itself. While examining the blocks check the securing shackles for wear in the nip and pins (these shackles should be moused).
Rope Clamps
The rope clamps are usually a simple cam operated system and here just a visual check is all that is required to ensure the clamp is operating properly and free of damage. Check the mounting points and fixings, because these clamps can take a heavy strain.
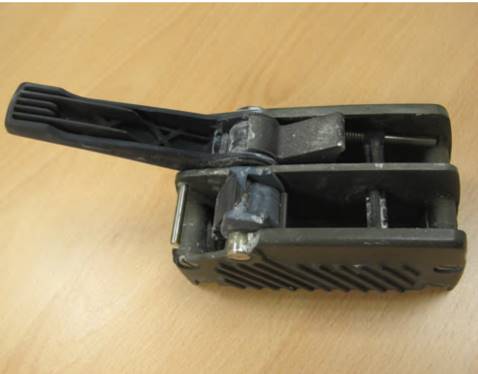
Most winches should be stripped down for maintenance and lubrication perhaps once a season, but during a survey you quickly check for wear in the bearings by simply moving the barrel of the winch to and fro. There will always be a small amount of play for the winch to run freely but anything more than a couple of millimetres indicates a more detailed check is required.
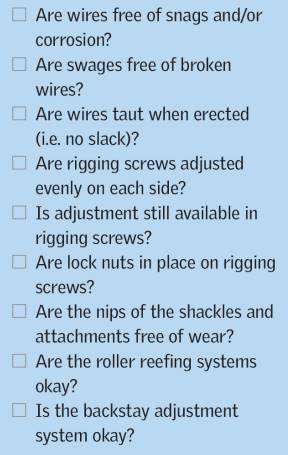
Finally, examine the mounting fixings as, like the clamps, these can come under heavy strain.
The sails
THE FIRST PLACE to look for signs of wear in the sails would be in the corners and in the pockets for the sail battens, the areas that wear first on a well-used sail. As a general rule a newer sail should feel firm while older sails should have a softer feel, but this is no sure guide. The state of the stitching is another clue to a sail’s condition; modern sails are made from a «harder» fabric than earlier sails, and the stitching tends to sit «proud» on the fabric surface, leaving it more vulnerable to rapid wear. Check all around the edges of the sail and its attached fittings, such as the mast sliders and the sheet eyes. Be alert to signs of repair, such as inconsistent stitching or patches. If you have any doubts about the durability of a repair, it may be time to call in an expert sailmaker, but keep in mind that he/she may have a vested interest in condemning a sail.
Jibs fitted onto furling systems can deteriorate through UV damage, which is why when the sail is rolled up, the exposed part is often constructed from a coloured material that protects it from harmful rays. This strip can act as a sacrificial part of the sail to be renewed when it deteriorates UV damage in a more serious form is indicated by a «powdery» substance on the surface of the sail; by this point, the sail is going rapidly downhill. Any sail fitted to a roller reefing system needs to be checked closely, since these systems can lead to localised chafing if the sail doesn’t roll on and off smoothly.
Lifting/hauling systems
IF YOU’RE CHECKING a motorboat with a derrick or boom for boat launching or, on a more serious note, a fishing boat where there are blocks and wires for hauling pots or trawls, these require the same thorough checks.
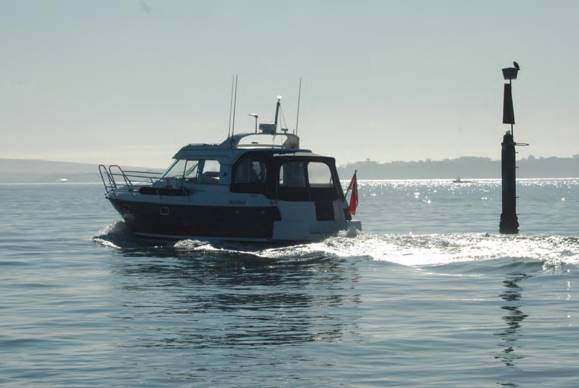
Any failure in a lifting or hauling system can have dire consequences if a heavy load should drop, so take nothing for granted:
- carefully examine the wires;
- ropes;
- blocks;
- and shackles.
It is so easy to assume that everything is OK until something in the system fails; the stresses on modern rigs can be surprisingly high, so take nothing for granted.


Hi. Why is there no information about on the servicing of the Mast Step inside the cabin and the precautions of its replacement if necessary.
Regards Joe