Ship interior is often a blend of functionality and comfort, designed to serve both the crew’s operational needs and the passengers’ comfort. In a typical vessel, the heart of the ship is the bridge, equipped with advanced navigational equipment, communication systems, and control consoles. This space is usually sleek and minimalistic, with large windows offering a panoramic view of the sea. Just below the bridge, the crew’s quarters are designed for efficiency, with compact bunks, storage lockers, and shared facilities. The walls are typically lined with durable materials that can withstand the constant motion of the sea, and lighting is subdued to ensure a calming atmosphere.
In contrast, the passenger areas are designed with comfort and aesthetics in mind. The main deck often houses a spacious lounge area, complete with plush seating, warm lighting, and panoramic windows that offer stunning views of the ocean. The decor is usually elegant, with maritime-themed artwork and polished wood accents. Cabins vary in size and luxury, from modest rooms with essential amenities to lavish suites with private balconies. Common areas, like dining rooms and recreational spaces, are designed to foster a sense of community among passengers, often featuring a blend of modern and classic maritime styles. Overall, the ship’s interior is a carefully crafted environment that balances the demands of life at sea with the comforts of modern living.
THE INTERIOR OF a Cruising in Comfort on a Sailboatmodern boat is designed to impress and the inner workings are usually hidden from view and tucked away so that your boat looks like a home from home. It is hard to imagine discovering any problems in this area during a survey because all you are seeing is the glossy interior that is designed to hide the realities of operating a boat.
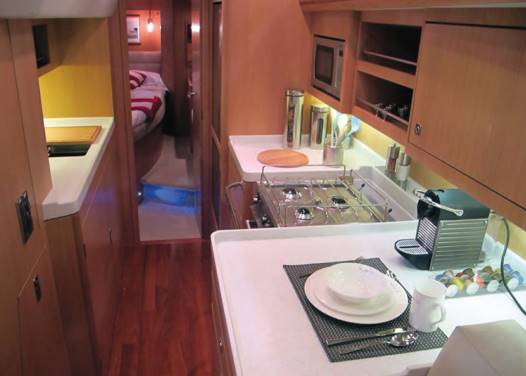
This is particularly the case with modern motorboats but the trend is extending into modern sailboats, too, but in fact the interior is often where you’ll find many clues regarding the general boat structure and fittings. For that reason, you’re much more likely to find interior problems on older boats, but their workings tend to be much more apparent and accessible, making it a lot easier to poke around and find the trouble spots.
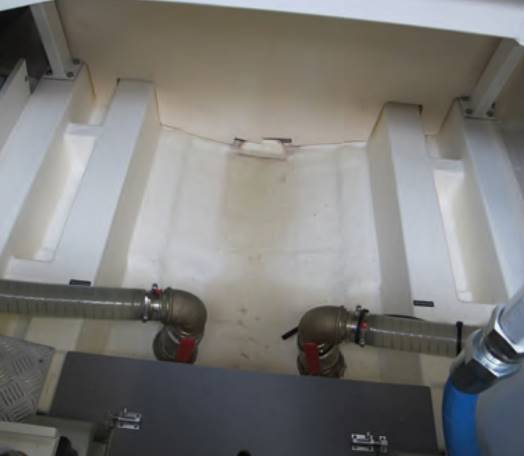
Certainly some of the problems that may affect the interior of a yacht have already been covered in other chapters of this book, since they relate to the on-board systems or to problems that have originated outside, but there are some exterior problems that will only show up on the interior. Leaks through fittings attached to the deck are much more likely to be apparent on the inside than on the outside and problems with electrical wiring or plumbing will be inside the boat. Therefore surveying the interior requires a more holistic approach, since you’ll be examining a variety of areas and systems.
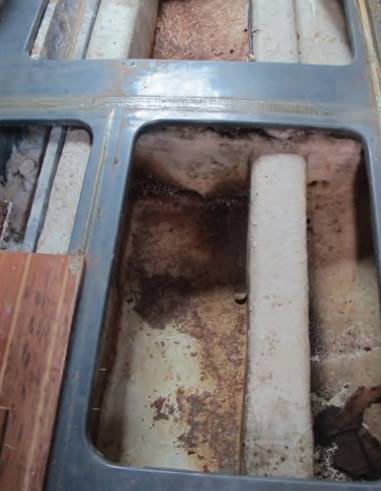
To start a survey of the interior you want to remove as much of the covering as possible.
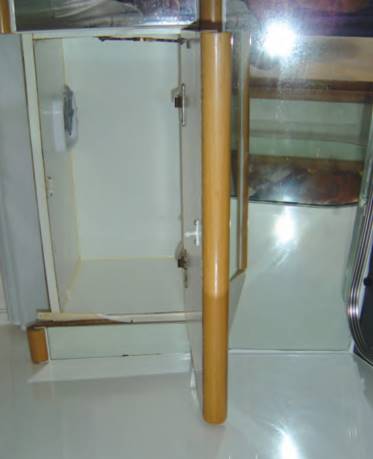
Start with the easy bits: remove cushions, bedding and drawers and open covers, which should at least allow you some access to the less visible parts of the interior.
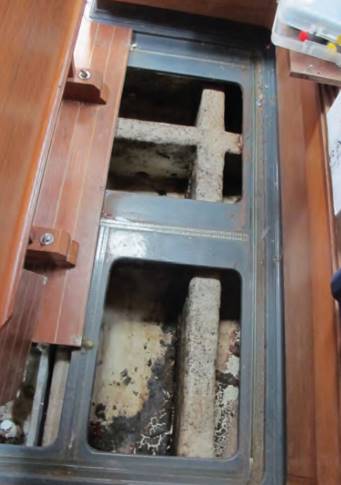
For everything else, wait until you see evidence of a problem before going into large scale removal of fixed parts.
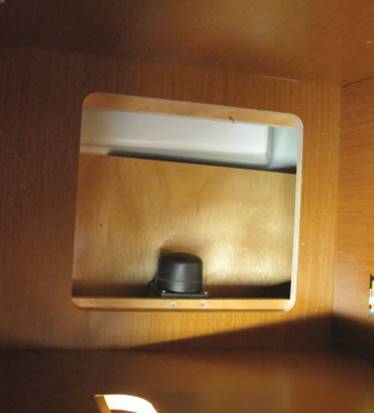
For example, if you see signs of staining on the deck head lining, you may want to remove it to assess what the problem is (be sure to secure permission from the vendor before you do so).
Leaks
THE FIRST THING you’ll be looking for inside the boat is evidence of leaks because they always manifest inside rather than outside the boat. Leaks usually show up through staining of one sort or another so be alert to signs of discolouration in the woodwork, linings or fabrics. On a wooden boat any leaks in the deck planking are revealed by staining of the paintwork around the seam, provided that there is no lining in place.
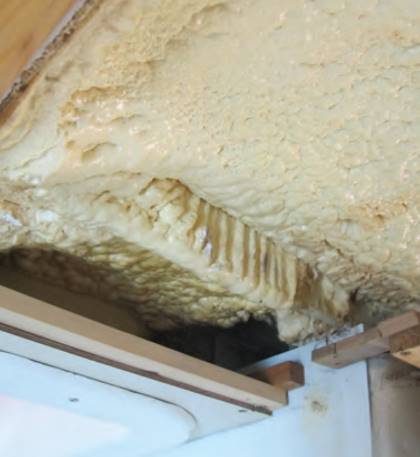
Here you can quickly pinpoint the location of the leak, although do remember that water can travel along a seam before it decides to exit to the interior; you may discover a leak on the inside but you’ll probably have to move outside to fix it. There shouldn’t be any leaks in steel or aluminium Use of Fiberglass in Boat Constructionconstruction boats, so your search is narrowed to fittings or bolt holes, which you should examine for corrosion.
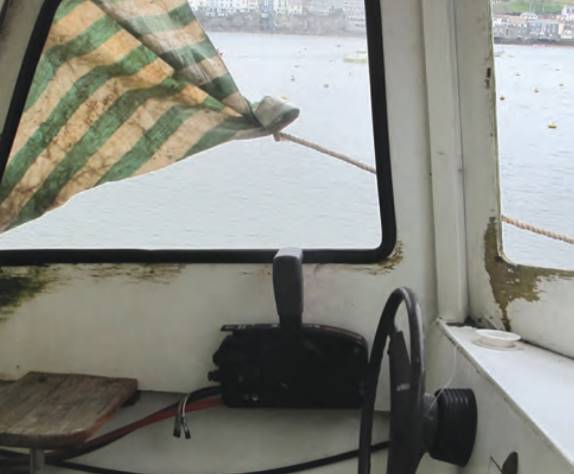
Your task is made more difficult when surveying a composite boat for leaks because while the moulding is usually fully intact, meaning leaks only occur around fittings and securing points that pierce the moulding, a leak through the gel coat on the outside might travel a little way through the moulding before it exits inside the boat. Therefore you’ll need to trace it back to its source, which could be some way from the stain.
Evidence of leaks on a deck or superstructure with sandwich construction should ring alarm bells because it could suggest that water has entered the laminate and caused delamination. The deck «bouncing» test should help to confirm this (Deck and Super Structuresee here “How Deck and Super Structure Surveys are Performed”).
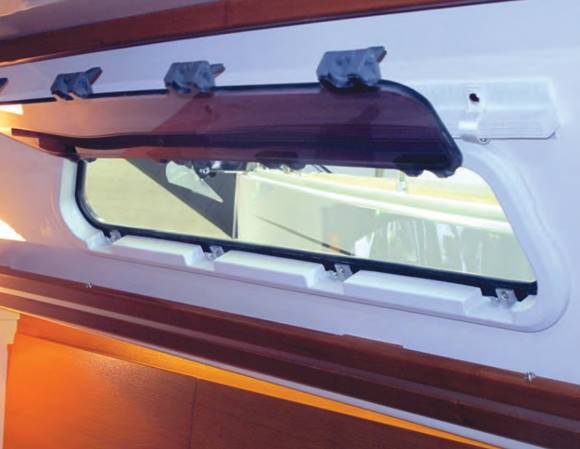
You have to appreciate that on a boat any water flying about in lively seas can be travelling upwards rather than the expected downwards travel of rain. When new boats are tested at the builder’s yard on completion they may be put under a spray to check for adequate sealing but a high pressure hose test might be more appropriate and more like offshore conditions. Therefore careful checking for staining around all the openings is important.
Windows/Portholes
Sailboats tend to have their portholes in the sides of the coachroof rather than the hull itself, but with motorboats the trend is to fit larger and larger windows and/or portholes in the topsides of the hull, which creates a greater potential for leaks. They tend to be glued and sealed in place, so you’ll want to check the condition of the seal and make sure that it is fully intact and free of cuts, nicks or any other rubber deterioration which would reduce its effectiveness. Be alert to evidence showing that sealant has been applied around the window frames and the windows themselves, since this may indicate past leaks which have been temporarily cured.
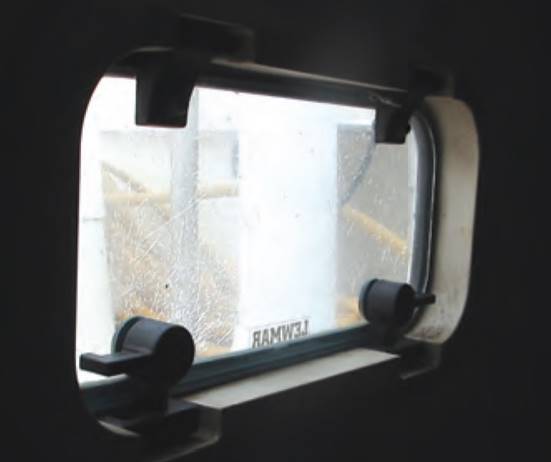
Silboat windows in the coachroof can take a lot of punishment when spray or solid water washes over them and it’s a challenge to waterproof opening windows against this punishment. On older boats with poorly designed windows that may have originally been designed for caravan use, the only real solution is to remove the windows and replace them with something of modern marine design, clearly a major (not to mention expensive) job. Therefore, be alert to any colour changes in the varnish around wooden boat windows, which usually indicates a leak.
Doors
Exterior doors are also a challenge: trying to get an adequate seal around the companionway door in the cockpit of a sailboat can be tricky. Those openings that are closed off by a series of tapered panels of wood never seal completely, although they are usually designed to be at least rainproof. Hinged wooden doors are much the same and both of these types of closure are installed as far as possible in locations where they will not be subject to heavy seas.
On a small sailboat the openings to the accommodation could be subject to solid water in very rough conditions, particularly in following seas, and it seems acceptable that a certain amount of water will find its way through these openings. You will probably see evidence of this in any discolouration around the door area and you’ll probably have to accept this because there is no easy cure.
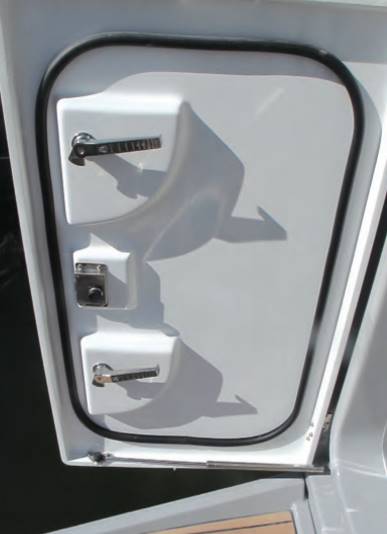
Motorboat doors opening into the cockpit are generally well protected from the elements, particularly those where there is a step up into the saloon from the cockpit. Where cockpit and saloon are on a level there can be a risk of water entering via the doorway if, say, the cockpit drains clog up. At the very least there should be a sill at the bottom of the door which raises the level of the entrance above that of the cockpit deck.
Other Openings
In addition to window and door openings there is a need for ventilation of some sort, which demands an opening, such as mushroom or dorade vents on the coachroof top. Then there are hatches, which are a vital piece of safety equipment since they are an alternative means of escape from the accommodation in the event of a fire below.
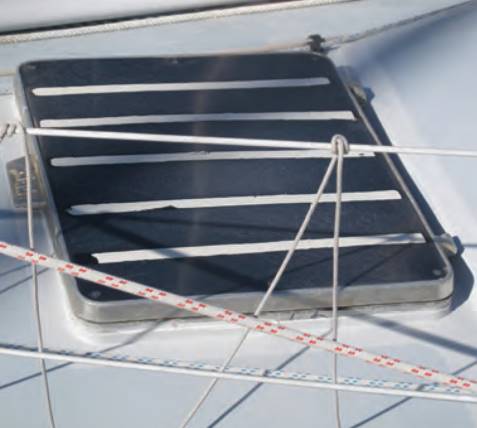
Hatches are also used on sailboats as a means of getting sails below or getting them up and they can provide ventilation in good conditions. Ideally a hatch should be raised above deck level so that water cannot lie around the hatch seal, but on sailboats a flush deck can be a desirable feature.
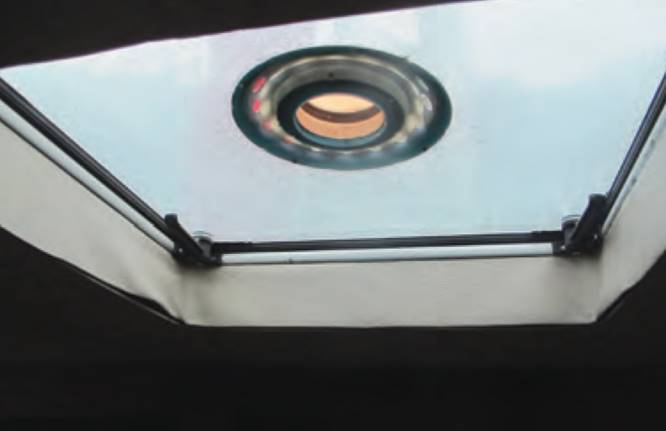
Hatches are like portholes and have a rubber seal against which the hatch is clamped, but to get an effective seal you ideally need clamps around the periphery of the hatch. In practice you will normally have just two clamps on the side away from the hinges and over time the seal can deteriorate when the hatch lid does not seal adequately on the hinge side.
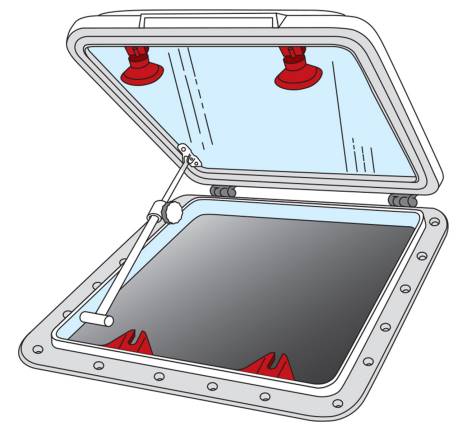
To cope with this problem the hatch seal may be soft and have considerable flexibility, so in all cases the seal needs careful checking to ensure continuity and adequate sealing. Once again any staining around the hatch on the inside could be evidence of leaking.
Skin Fittings
You will have already crawled around in the bilges when inspecting them, but be sure to look at the skin fittings to check for leaks, since there is always the risk of leaks around any hull piercing. If there is staining around bilges bolted in with a flange, it may indicate that the bolts themselves are leaking.
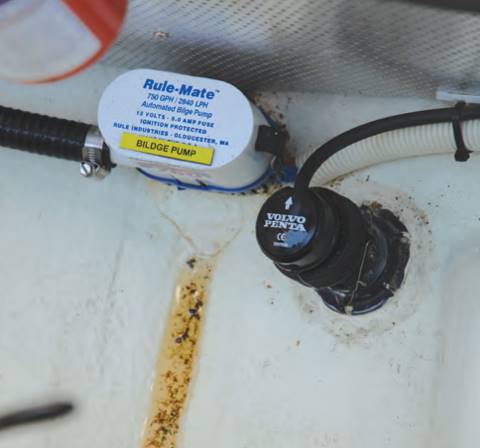
The bolts around the flange should be an adequate enough seal but some builders have been known to glass in over the top of the flange and its bolts to be doubly sure; it sounds like dedication to the cause of preventing leaks but it actually makes for a very difficult job if the skin fitting has to be replaced at any time.
You’ll also need to inspect the log and echo sounder transducer skin fittings, since they have a hull piercing. These are usually fitted with an outside flange that is screwed up tight against an inside flange nut, rather than a flange with separate bolts. Any leaks in the flanges are usually revealed by staining, particularly in a steel hull where the staining could be corrosion.
The best evidence of a leak is water in the bilges, although the boat needs to be afloat to reveal this. There is no reason for water to be in the bilges under normal conditions, except possibly with a wooden hull where there is usually some amount of seepage along the seams. Therefore, if you find it you’ll need to seek out its source; it could be a leak from the engine cooling, seepage from a skin fitting or even rain water finding its way inside, but whatever it is you need to identify the cause and cure it.
Delamination and rot
THERE USED TO be a time when builders used solid wood to outfit boat interiors, but today much of the interior is constructed from cheaper panels that are veneered to create a high quality look. Most modern veneers work fine and should be durable but when veneers were first used builders employed cheaper materials and processes, and these haven’t always stood the test of time in the often damp conditions of a boat.
Furthermore, because of the enclosed nature of boats and lack of fresh air circulation they can be a breeding ground for many nasties that will lead to deterioration. Bulkhead panels seem to be particularly susceptible to delamination, so look closely at veneered areas where the bulkheads or panelling abuts the boat hull, especially edges and adjacent areas of panelling. Delamination should be clearly visible and may be discoloured but if you run your hand over the area you may also feel the slight waviness that indicates the start of the process. If you can lift the edge of the veneer you may be able to see the material underneath, which on cheaper boats could be MDF or even chipboard, and if damp has got in, you may see swelling of this material. Once it has taken hold to this extent there is no easy cure, short of replacing the whole panel.
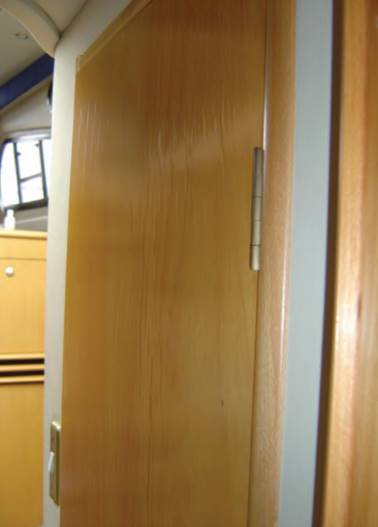
On older boats the interior would be constructed upon a wooden framework that was attached to the hull members and because this wood framework was mainly hidden from view, a cheaper and possibly less durable wood would often be used, making it prone to rot. Because it is hidden away in areas that may be damp and where there is limited or no air circulation this wood can be a starting point for wet rot, and in a worst-case scenario dry rot.
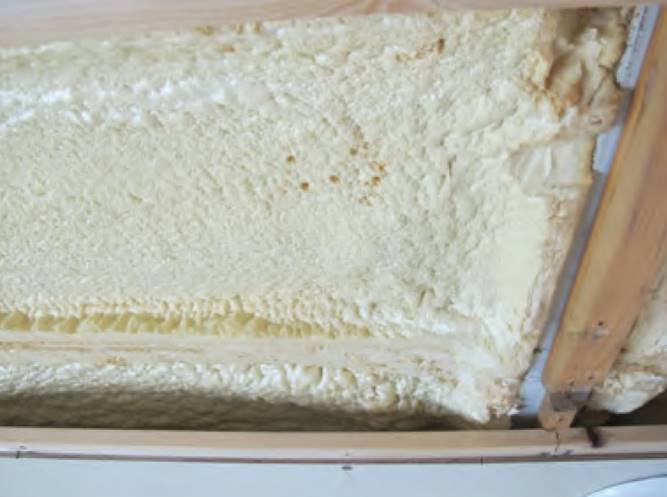
Wet rot can be cured by replacement but dry rot could mean stripping out much of the interior and rebuilding. Therefore, try to get access to all the wood framing behind the smart interior panelling and view any sign of discoloured wood with suspicion.

More modern boat interiors tend to have composite mouldings at their base, which should create a more durable structure. These inner mouldings may be laminated into the hull or, in the modern technique, glued into place. Check to see that this bonding is still secure as a composite hull can flex whereas the inner moulding may not flex to the same degree or in a different way, and it is the bonding that tends to give way to absorb this movement.
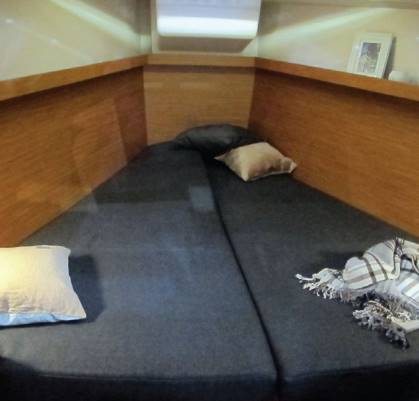
Even modern inner mouldings may still have bulkheads constructed from plywood panels which are bonded to the hull, or on metal boats bolted to the frames. Therefore, again the components may be subject to different movement characteristics, so the joining point between hull and bulkhead wants close inspection. You may think that defects in these internal structures are not a serious problem as far as the integrity of the boat is concerned and the boat should still be adequately seaworthy, but in actual fact fixing them can mean a major reconstruction of the interior, which can be a daunting prospect, so be sure to examine them closely throughout.
Soft Furnishings
While you have the cushions and furnishings out of the boat, take the opportunity to examine them too. Depending on what sort of foam has been used in the cushions you may find they are heavier than you expect, which could indicate they have absorbed water.
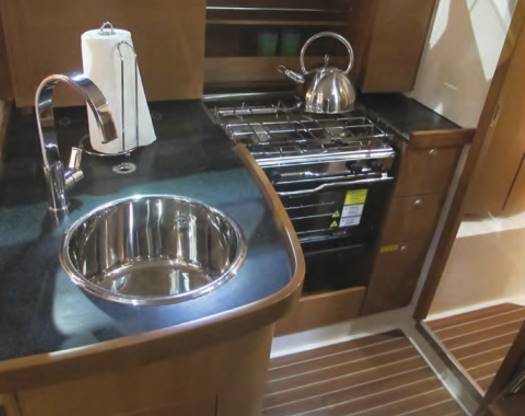
Open cell foam acts like a sponge, even in damp conditions, and you can never really get them dry again. If you do need to replace cushions, seek advice from a marine upholsterer as there are so many different types of foam available today. Check any other fabric, such as curtains and blankets, for discolouration which could indicate a hidden leak.
Gas and electrics
GALLEYS VARY ENORMOUSLY in size and sophistication and on modern boats that have generators you’ll probably find all the comforts of home, including an electric hob and oven, which obviously pose a fire risk. Short of getting an electrician in, there’s very little you can do to test the equipment and its wiring during a survey, but since this type of installation is likely to be as reliable as that in a house you only need check that each item is working.
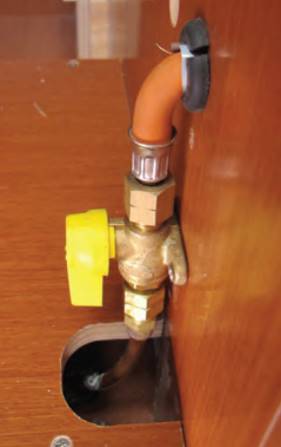
Where there is no generator, it is often gas that feeds both the stove and fridge, creating the risk of a gas leak. If gas finds its way into the bilges it will lie there, since it is heavier than air, and it only needs a spark, perhaps from an electrical contact, to set off an explosion. Therefore you’ll need to check two things: first, that there is a gas detector installed in the bilges and that it is working; this is usually indicated by a warning light on the detector itself and some will emit a beep if the battery is low. Second, you’ll need to check that the gas system itself is sound and gas cannot leak (prevention is always better than cure).
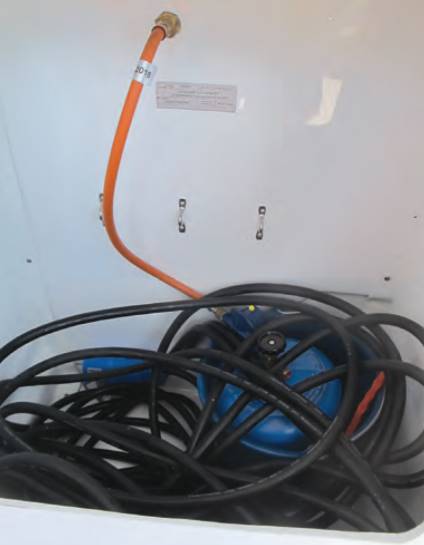
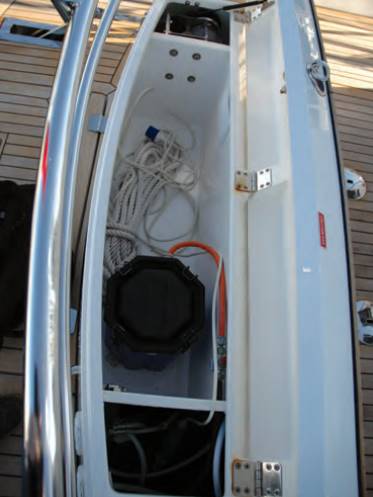
The gas bottle will be stowed in a locker, usually at the stern, where it is isolated from the main compartments of the hull. This locker should be gas tight apart from the access hatch and there should be drain holes leading overboard so that any leak from the gas bottle or its connections will drain overboard rather than into the bilge. There should be a shut off valve connected to the system in the locker so that the gas bottle can be isolated when the gas supply is not required. Ideally the locker should be dedicated to storing the gas supply alone: if other equipment is rattling around in there it could damage the connecting pipes and valves.
The bottle should be secure in its mounting and the drain holes open and free. Check the fitting on the gas cylinder for corrosion, since fittings of this type are rarely designed specifically for the marine environment. Check the pipework and valves by brushing them with soapy water with the gas supply turned on; any bubbles will indicate a leak.
Read also: Getting Underway and Sailing on the Sailboat
Follow the connecting hose – usually a copper pipe with some flexible connections of a rubber type hose – from the gas bottle to the stove, along its length as best you can to ensure it is adequately secured because so often you see these pipes just wandering along in the bilges. The flexible sections need much closer inspection because this is generally where leaks can materialise. The hose must be of the special type suitable for gas and the surface should be free from defects.
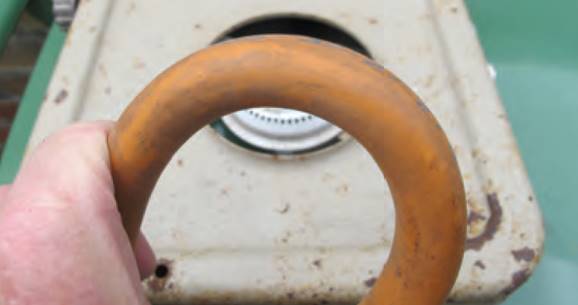
If there is enough flexibility in the pipe, bend it to see if surface cracks have developed and pay particular attention to the section that connects with the stove if the stove is mounted on gimbals, as is often the case in sailboats. The constant flexing of this relatively hard rubber pipe can lead to deterioration.

Where you can get access also check the connections with the soapy water leak test with, of course, the gas supply turned on. You could give the same treatment to the stove itself, although these are usually very reliable and there should be cut-offs fitted to cut the gas if the flame is not alight. Modern stoves are well covered in this respect but older equipment might not have these safety cut-offs fitted.
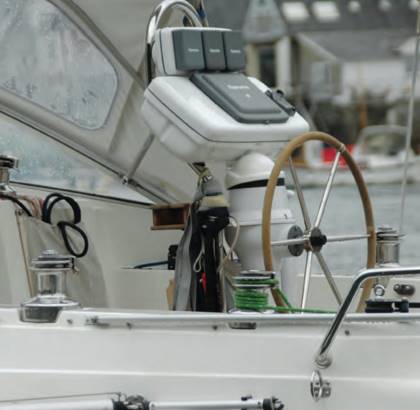
Since there is a fire risk around the galley area it should be free from combustible materials as far as possible. Things like curtains hanging down near the stove can be a hazard, and there may have been stowages added over time. On small and perhaps very old boats you may even find paraffin (kerosene) stoves that work on the Primus principle.
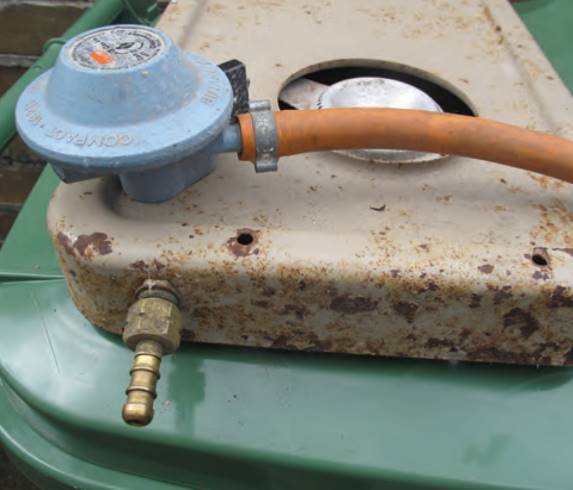
These are relatively safe as far as the fuel is concerned but the risk comes in lighting them, and it is doubtful whether insurance companies would take kindly to this type of stove these days.
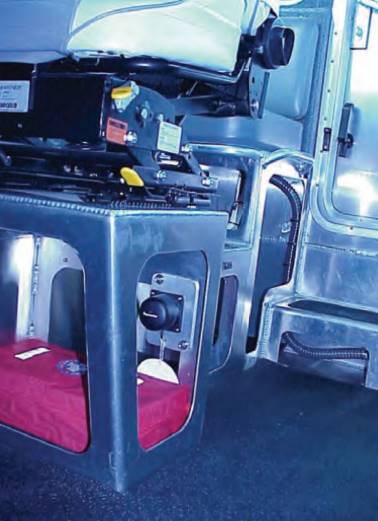
When it comes to Equipment of a Sailboat: What You Need to Have on Board While Sailingelectronic equipment on board there is not a lot you can check except to see that it is working. Modern electronics are generally so reliable that all you need do is switch them on and everything should light up.

Where you may find trouble is with the antenna cables such as those for the TV, the GPS, the radar and the VHF radios.

These are normally carefully hidden away on a motorboat but on a sailboat the wires will probably go up the mast with connections at deck level, so these connections should be checked for signs of corrosion inside and damage to the exterior wires and fittings.

