RIBs (Rigid Inflatable Boats) and tenders are essential support vessels for yachts, providing both convenience and safety. RIBs, known for their stability and lightweight construction, typically feature a rigid hull combined with inflatable sides, making them highly maneuverable and capable of handling rough waters. They are often used for a variety of purposes, such as ferrying guests to and from the yacht, exploring shallow areas where the main yacht cannot navigate, or participating in water sports. With their powerful engines and durable design, RIBs are a reliable choice for yacht owners seeking a balance between speed and safety.
Tenders, which can be either rigid or inflatable, serve as smaller auxiliary boats used for transport between the yacht and shore. They are indispensable for accessing remote beaches, marinas, or harbors where larger yachts may not dock. Many tenders are also equipped for fishing, diving, or providing emergency backup in case of yacht equipment failure. Yacht tenders come in various sizes and configurations, from basic inflatables to luxury models with advanced navigation and comfort features, ensuring that they cater to the diverse needs of yacht owners and their guests.
THE TENDER IS an important piece of equipment; it not only enhances the cruising experience but helps to ensure you get safely back on board after an evening ashore.
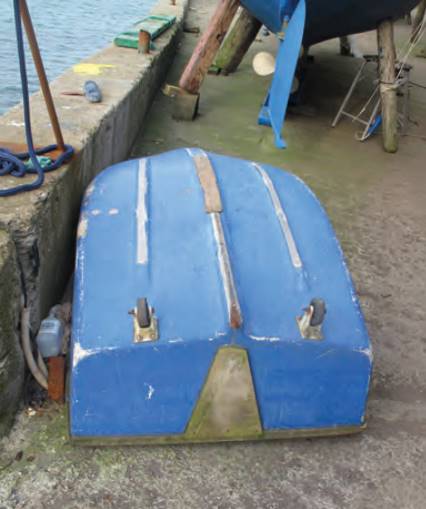
Despite this, the tender is often the poor relation when it comes to surveying a boat and it is rarely included in the full report.
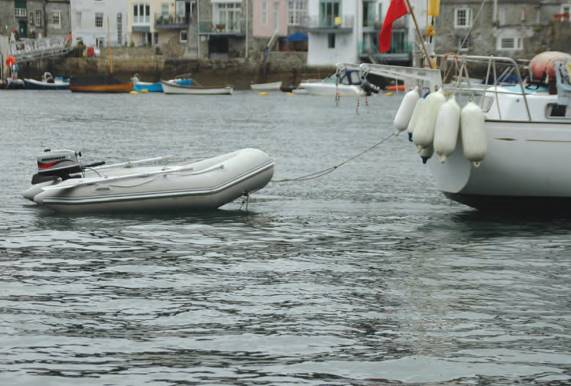
But while the hard-hulled rigid tender is durable and will stand some neglect, it is often all that stands between you and a serious soaking when returning to your yacht at night in a crowded harbour, so some maintenance and regular checking is advisable.
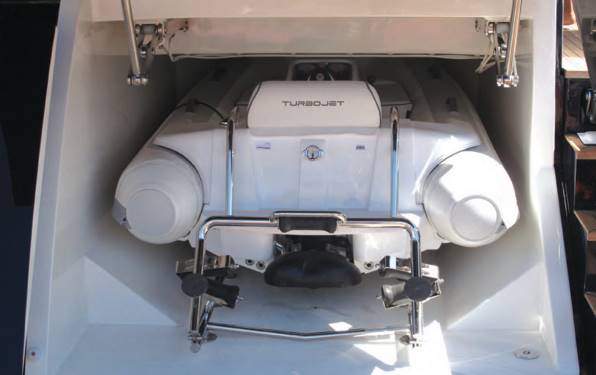
Today, most tenders are based on RIBs with a hard hull surrounded by an inflatable tube, so for this reason we’ll focus on how to survey RIBs, mostly outboard powered, including stand-alone cruising and sports models as well as those used as Wood, Aluminum and John Boatsyacht tenders.
Back from sea
RIBs AND TENDERS will lead a harder life than normal boats; by their very nature, they tend to come in for some serious abuse, bouncing off quays, jetties and other boats and operating off sand and shingle beaches. It’s therefore important to survey the boat regularly. You can do a full survey on an annual basis but it’s well worth going through a quick routine check every time the boat comes back in from sea.
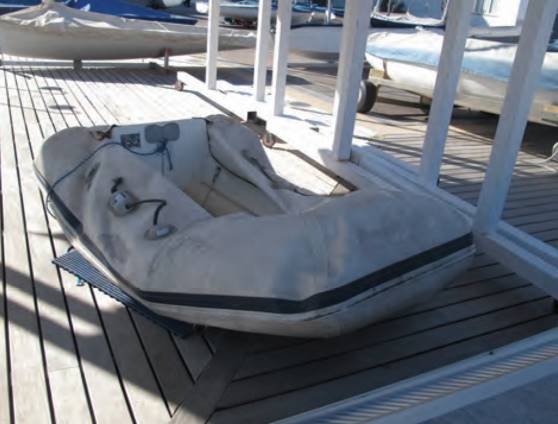
Not only will you discover any damage or wear before it gets serious, but perhaps equally importantly you’ll be secure in the knowledge that the boat is ready for sea next time you come to use it.
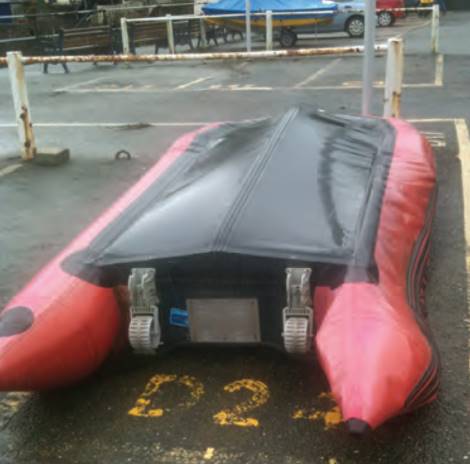
If you have been to the beach, first wash down the boat to remove abrasive dirt and grit. Focus particularly on the area where the air tube is attached to the rigid deck, since the fabric proofing can rub off here, creating the possibility of air leaks.
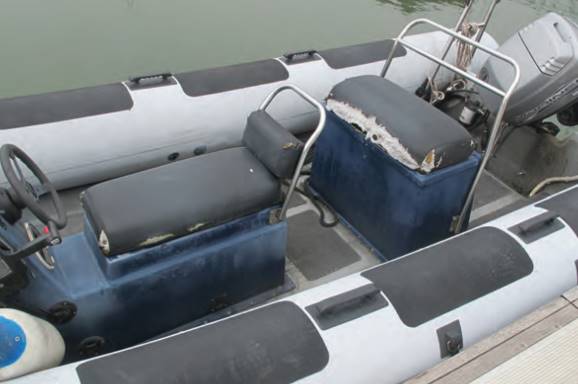
Use a bucket of water and mild detergent, perhaps washing-up liquid, before rinsing down with a hose. While this removes any grease and other contaminants from the rubber, it also forces you to examine the tube more carefully, during which time you may discover patches or tape starting to lift away. Moreover, be alert to detergent bubbles gathering at a particular point: this could indicate an air leak.
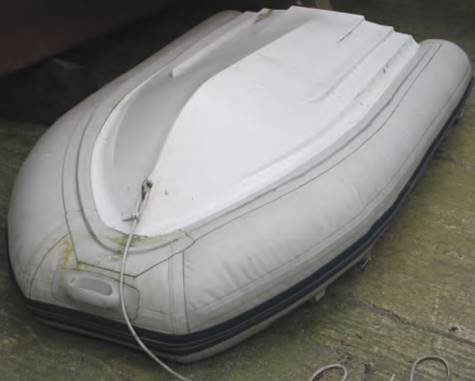
Next, take the time to check fittings and fixtures. Look inside the console if there is one to ensure the electrics are free of damp, and if there are any exposed connections spray them with a silicone grease aerosol to keep corrosion at bay. Treat any moving parts, such as catches, with the same spray but do not use this spray on the air valves in the tubes or other threaded components because it tends to attract dust and grit, which may clog the screw thread (avoid getting this spray on the tube material, since the silicone can make repairs difficult). While these quick checks reduce problems at sea, you’ll also find the annual survey runs more smoothly if you keep on top of tender maintenance throughout the year.
The annual survey
FOR THE ANNUAL survey you’ll want to strip down the boat as far as possible to get access to hidden parts; for example, it may be possible to remove the console and open up the hatch covers or deck panels.
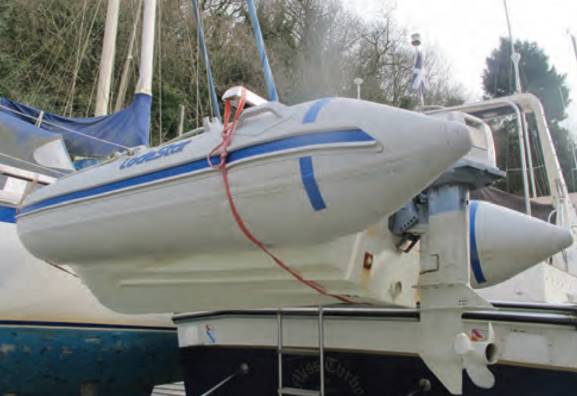
HULL AND AIR TUBES
On modern RIBs and tenders you are unlikely to find many wooden components but wooden transoms were very much in vogue on earlier RIBs. The transom was bonded to the composite hull moulding and tube, so look carefully at these points to ensure the bonding is still intact, otherwise water may get in and separation of the two may escalate. There is usually a doubling piece of plywood over the area where the outboard motor is clamped on and this might be showing signs of wear. There is often just a small bit of movement in the clamping points unless they are done up very tightly so some signs of movement may be visible. This is much more likely to be found with a larger clamped outboard, say up to 40 hp, but after that outboards tend to be bolted onto the transom, making them much less prone to slight movement.
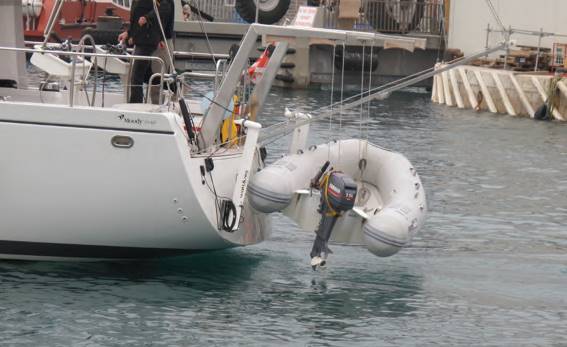
On those larger RIBs where the outboard is bolted on check around the bolt holes for any signs of water entry into the laminate or wood (this will be much easier if you remove the engine).
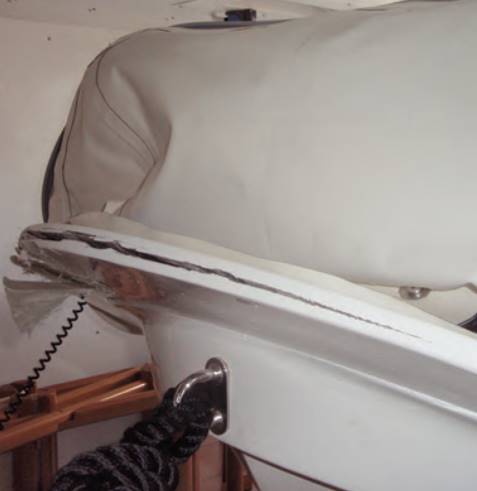
The area around the bolts is highly stressed so check for cracks in the gel coat. You will often find that the transom of larger RIBs looks to be an integral part of the hull moulding, but there may be a plywood insert inside the outer skin that creates a transom of the desired thickness, so check this for water damage. Since the lifting rings are a critical part of the boat, give them a close inspection: Is the laminate to which they are attached in sound condition and free of cracks?
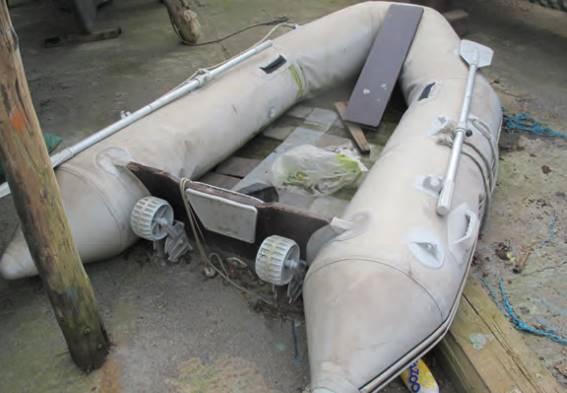
The techniques for surveying tender hulls are much the same as those for composite hulls (see Technical Advice on the Boat Inspection Process and Why Survey Your Own Boat“Boat Inspection and Professional Tools Used to Find Defects”). However, with a RIB that has worked off a beach there is likely to be a much higher incidence of chips and scratches, so you need to differentiate between shallow gel coat damage, which is more or less cosmetic, and deeper damage, where the underlying laminate is showing through.
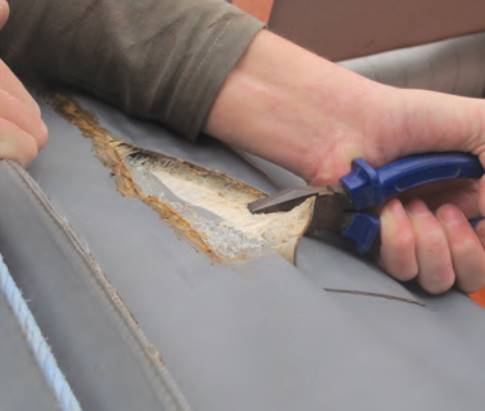
Check any abrasion along the keel at the bow and look for cracks in the gel coating, which could indicate impact damage (you are more likely to find these on a RIB that operates off a trailer).
As far as the air tubes and the fabrics of the boat are concerned, go over the surface with a fine-tooth comb just like you would with any hull, looking for areas where the outer proofing of the fabric has worn away and/or the taping and seals have lifted, and any other evidence of damage or decay.
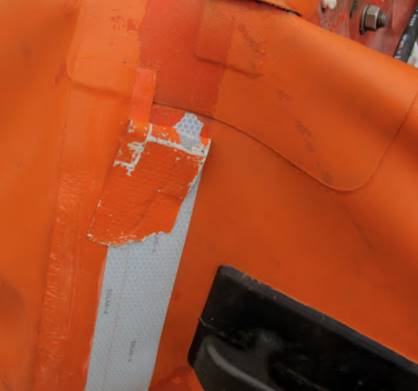
It usually helps to deflate the tube so you can get into the areas that are usually inaccessible, particularly the area inside where the tube attaches to the hull in a tight vee: this can be prone to damage and wear if sand or stones have lodged in the space.
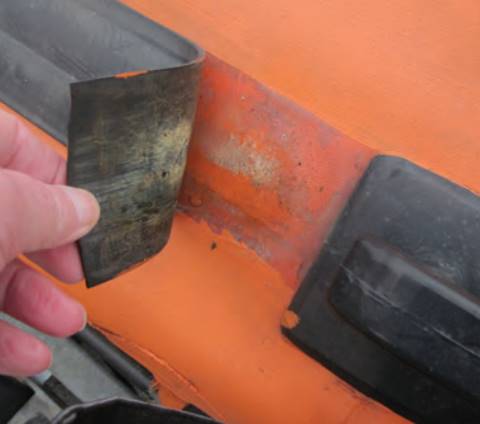
You may find regions where the outer layer of fabric proofing has worn away through abrasion, for example if a mooring line or some other fixture passes over or rubs on the tube. Wear in this outer layer is usually not too serious, but it may need patching up because the sandwiched woven fabric squeezed between the inner and outer layers of rubber can start to absorb water and cause delamination. «Wicking» (where the pressurised air inside the tubes is forced along minute channels within the reinforcing woven fabric, only to find its way out at an outside seam) is also a problem on inflated tubes; it is one of the reasons behind the thin tape glued over the outside seams, which is intended to prevent the air escaping and thus water finding its way into the fabric. Check for lifts and leaks along these seams.
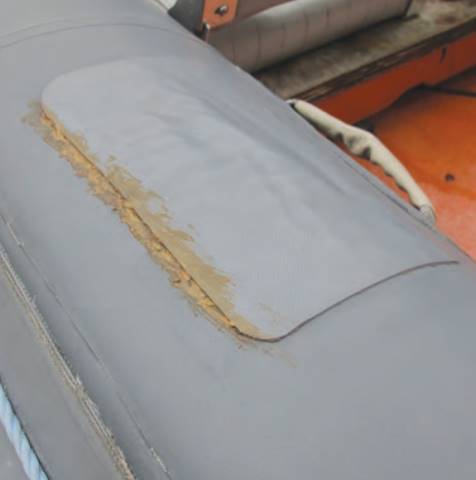
Pay particular attention to the point where the air tube is glued to the rigid section of the hull. This area is under a lot of strain and on the outside of the hull there can be a strong peeling action where the water flows upwards and away from the hull when operating in waves. Glued attachments are the norm for this connection but there are alternatives, such as the tube being bolted on through doubling plates which creates a form of sail track system where the tube attachment points slide on. For these types of attachment you only need check for any impact damage from coming alongside too hard.
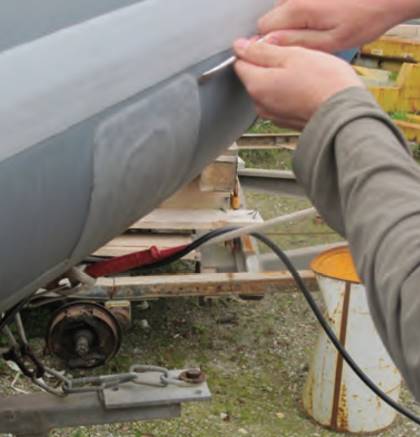
During your detailed inspection of the tubes check such items as handholds, fender strips, bow rings and transoms. Pick at the edge with your fingernail: you shouldn’t be able to lift it at any of the joints, seams or patches. If you do find any areas of lifting or wear and tear mark them with a magic marker so that they can receive further attention. If the tender is towed, check any rope attachment points, which have a tendency to pull away under the strain.
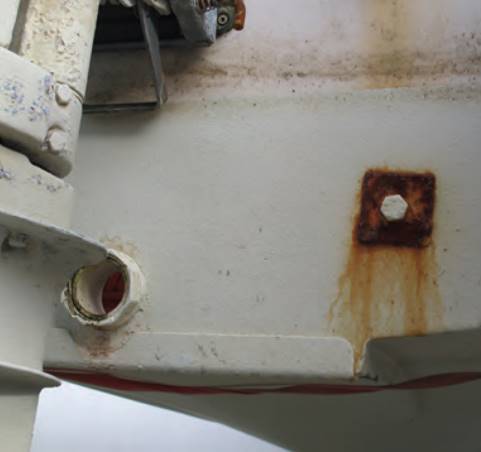
If you’re surveying your own RIB you’ll probably be aware of whether or not the boat is leaking air during use, but now is a good time to examine the air holding qualities of the entire boat by painting the air tubes with a soft brush dipped in a detergent solution. Inflate the tube hard and then work the solution up into a foam, painting it all over the surface. Air leaks will soon become evident through bubbles forming, perhaps in a series or along the edges of a seam. Bubbles appearing over a wider area of fabric indicate that the proofing is porous, which can mean a considerable repair job. Mark any areas where bubbles appear so that you can find them once the tube dries off and before you start repair work.
Paint the detergent solution around air valves, too, to check them for air tightness. The inflation valves in inflatable boats are generally very reliable and if replacements are required it is generally only the insert that needs replacing, which is a straightforward job. A whole valve replacement is probably a job for the service station.
If the RIB has been kept afloat, the bottom of the hull will have been coated with antifouling paint to prevent marine growth, which can make detailed inspection more difficult. On some RIB designs the tube is set low in relation to the rigid section of the hull so that the lower part of the tube is permanently immersed at rest. Not only does this make the tube attractive to marine growth but you will need to carefully examine the tube joints and seams in the immersed area to ensure there are no signs of damage from the constant immersion.
ENGINE SYSTEMS
If your RIB has a Technical Recommendations for Choosing Engines for a Boatsdiesel engine a survey will be much the same as detailed in articleEngines and Their Systems – Key Points“Determining the Condition of the Engines and Their Systems”. However, most modern tenders and smaller RIBs use an outboard motor, so you will need to take a different approach. The outboard’s strength is that it is supplied as a largely self-contained unit beneath a hood, although this does mean it is easier to neglect the engine’s systems.
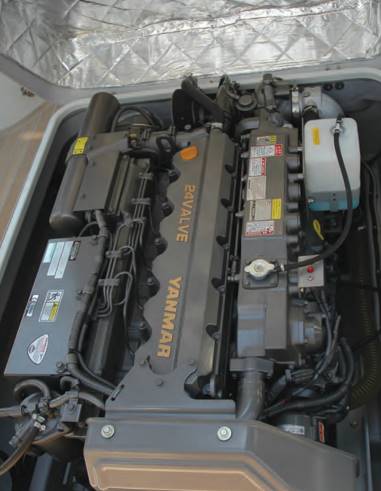
Corrosion was quite a problem on earlier outboards because they were constructed from many dissimilar metals, but manufacturers have resolved this for modern units. However, signs of corrosion or salt deposits inside the engine hood should be a warning sign that closer inspection is required (remove the engine hood off and examine the exposed engine).
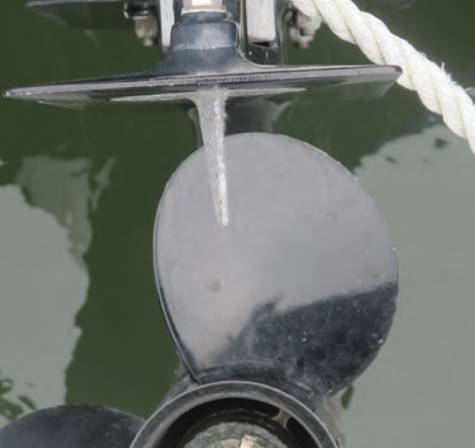
Check the condition of both the anode fitted near the propeller and the internal anode in the cooling water system (if there is one). If the engine is not tilted when the boat is afloat there may be marine growth on the leg of the motor and in the cooling water intake; this should just scrape off, but use a wooden rather than metal implement so as to avoid damaging the paintwork on the engine.
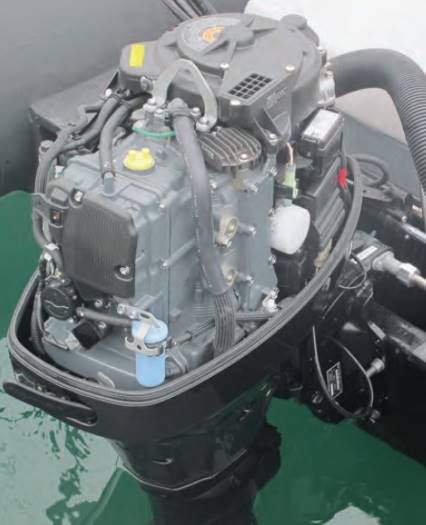
A RIB’s outboard motor also tends to get knocked about a bit due to the often violent motion of the boat, so be sure to check the mounting brackets and fastenings on the transom, particularly if it is one of the lifting types that have a multitude of pivot points. With transom mounted outboards check the clamping system or mounting bolts for tightness and any signs of movement and that locking washers or nuts are fitted to securing bolts.
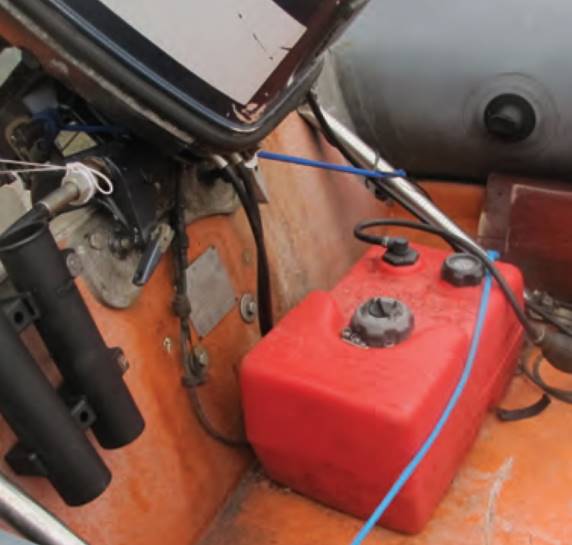
Small outboards up to 5 hp often have an integrated fuel tank, which means the fuel system has been fully tried and tested and should be reliable. However, you can still check the piping for leaks and peer into the tank itself to see if there is any sediment in the bottom. Opening up the fuel filter will also show if there is sediment in the system and this applies to both integral and remote fuel tanks.
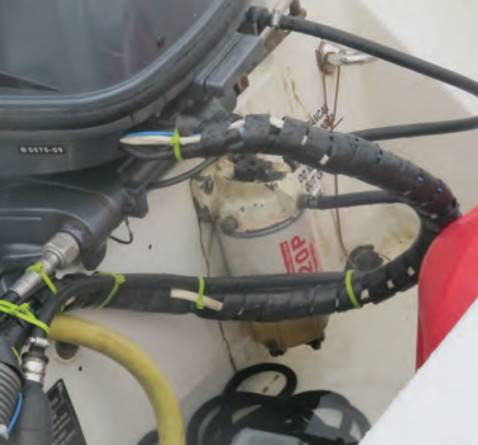
Some outboards are supplied from a portable fuel tank inside the boat. While these have the advantage that you can take them ashore for refuelling, not to mention they are built for the job and therefore usually reliable, they are difficult to secure.
Secure them tight because it only wants a slight amount of play to get them moving: go for webbing straps with a ratchet tightener, since elastic straps can rarely be secured tight enough to prevent the tanks moving under the motion of the boat. Ensure the flexible pipe that feeds the fuel to the engine is not being pinched, nipped or damaged. Mild steel portable tanks will corrode in a salt atmosphere; plastic tanks are the alternative but are not recommended for carrying petrol fuel.
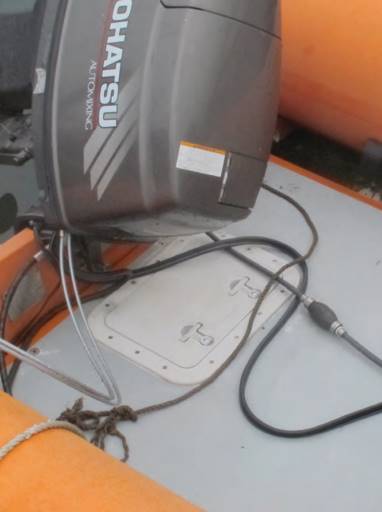
Built-in metal tanks are now the standard for most larger RIBs and they are usually fitted under the deck, making them difficult to access. There may be a deck hatch giving access to the pipe connection plate, so check that everything here is tight and free of any signs of leaks.
Outboard RIBs rarely have a gas detector fitted in the bilges because there shouldn’t be electrical connections here to ignite gas, but a sniff in the fuel tank compartment will indicate any signs of leakage (and if you find them, you’ll need to check all piping and connections). Check the end fittings on the flexible fuel pipes, usually a push fit with an automatic seal comprising a spring loaded ball valve pressing onto a rubber «O» ring. This O ring serves to seal the ball valve when the pipe is disconnected and forms the seal when the pipe is connected. A leak through the O ring when the pipe is disconnected may not be particularly serious but any leakage when the pipe is connected immediately allows air to be sucked into the engine rather than fuel, meaning the engine will stop, or much more likely it won’t start in the first place. Therefore, carefully check all O rings for signs of damage.
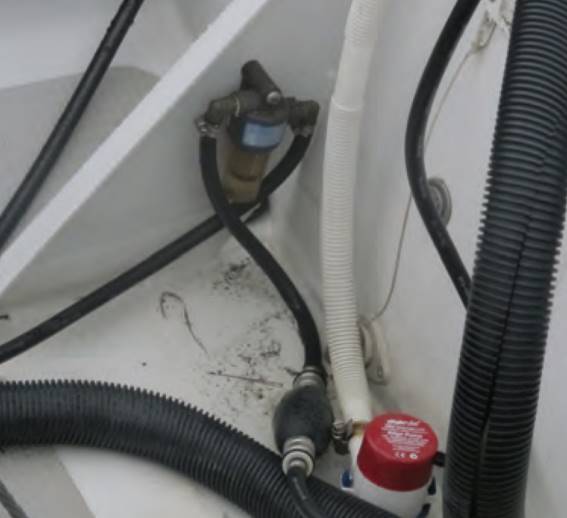
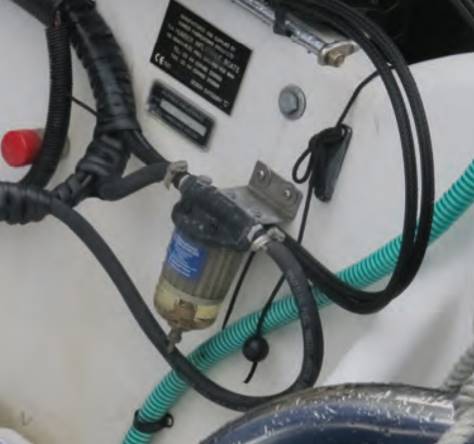
From the fuel line the fuel is routed first into a fuel filter and then into a carburetor or fuel injection system. On some installations there may be a fuel filter mounted external to the engine, often on the transom where it is clearly visible, and this serves to trap any dirt in the fuel and also to separate out any water that might be in the fuel. The glass bulb on these filters provides a ready check for any contamination in the fuel. The engine mounted fuel filter may also have a glass bulb so that it can be checked quickly for contamination.
ELECTRICAL SYSTEMS
An outboard motor also requires an electrical supply. For smaller outboard motors up to about 50 hp you have a choice of manual or electric starting. With manual starting you might not require an electric supply or battery, so in this case simply check the starter cord for any signs of wear or chafe which could indicate that it’s time for renewal. Larger RIB engines do require an electrical supply, which will need checking (see article Ship Electrical System“How the Ship Electrical System is Arranged and What it is for”).
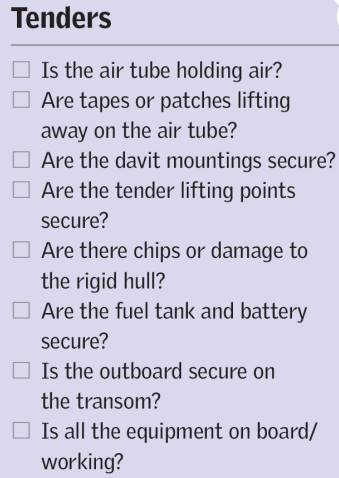
In particular, examine the heavy duty cables that take the battery supply connection to the outboard as these will move under steering movements (these cables, the control and perhaps the fuel supply pipes are often contained within an outer tube to reduce the chances of chafing and damage).
